The Fundamentals of Animation in Slider Revolution
Animation is at the core of Slider Revolution. Let’s learn how to work with it.
In this section of the manual you will learn all of the core concepts behind how layer [?]
animation operates in Slider Revolution [?]
, and how to work with it within the module [?]
editor.
Accessing Animation Options
Throughout this section we will frequently be working with the Animation options in the module editor. Rather than repeatedly direct you to where they are each time you need them, we’ll cover how to access Animation options once, now.
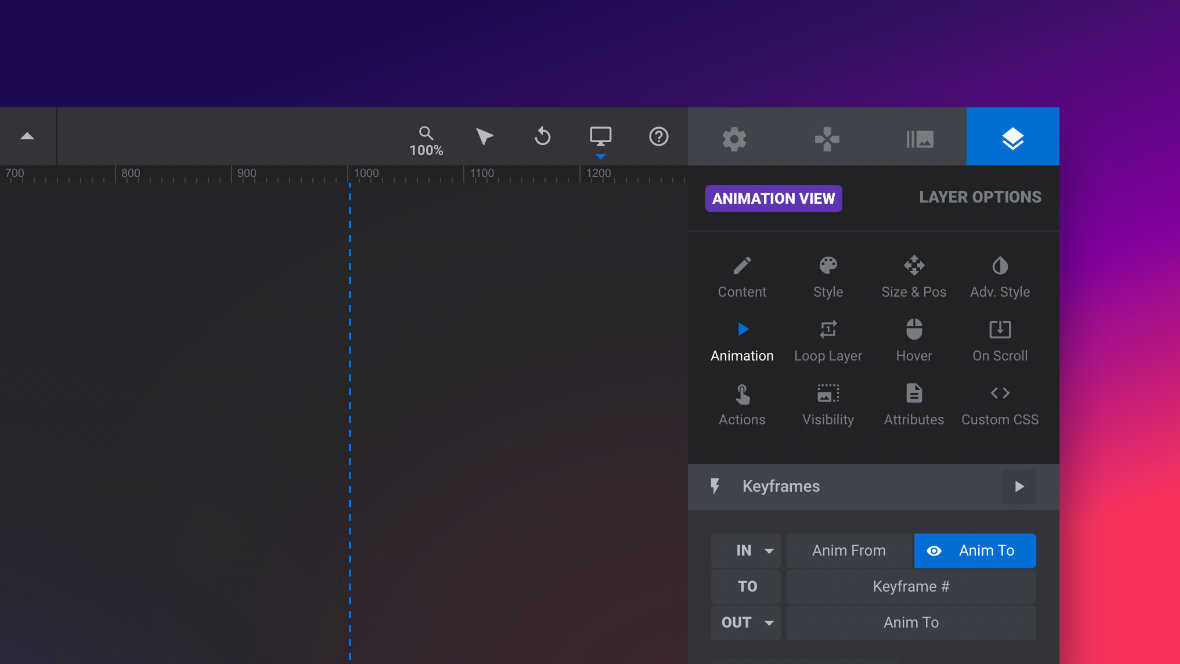
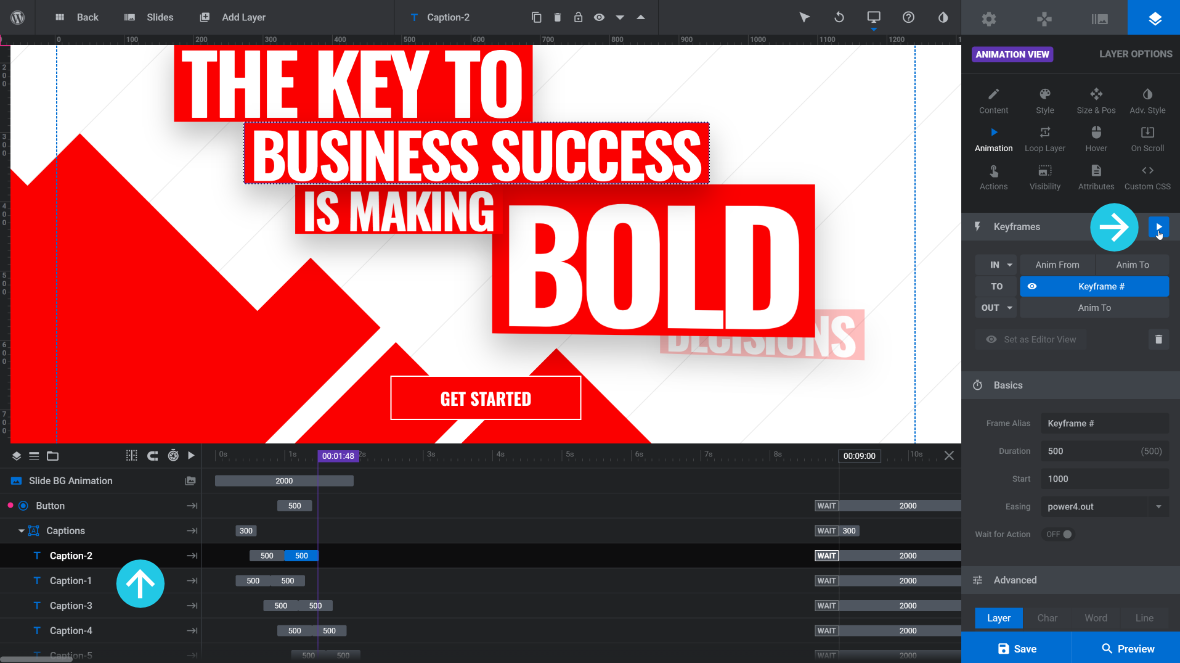
To access animation settings select a layer and go to the Layer Options tab, then the Animation sub-section:
In this sub-section there are three panels we will be learning how to use.
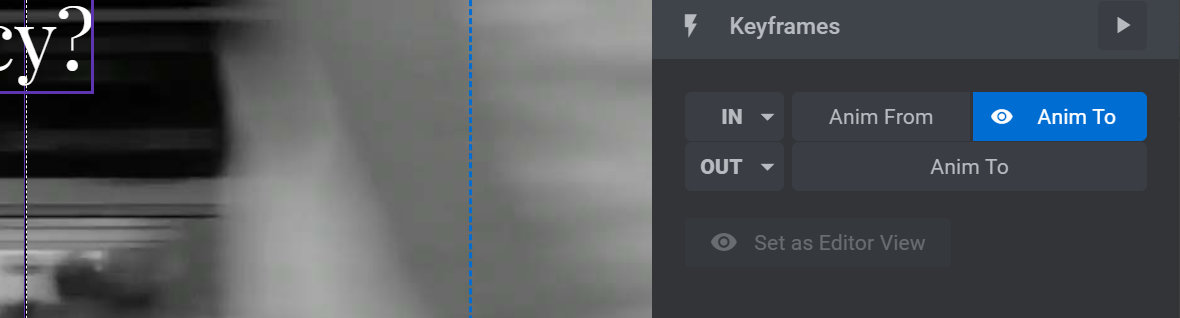
At the top is the Keyframes panel, which controls how many animation strips a given layer has, the animation states they are made up of, and allows you to preview those animations:
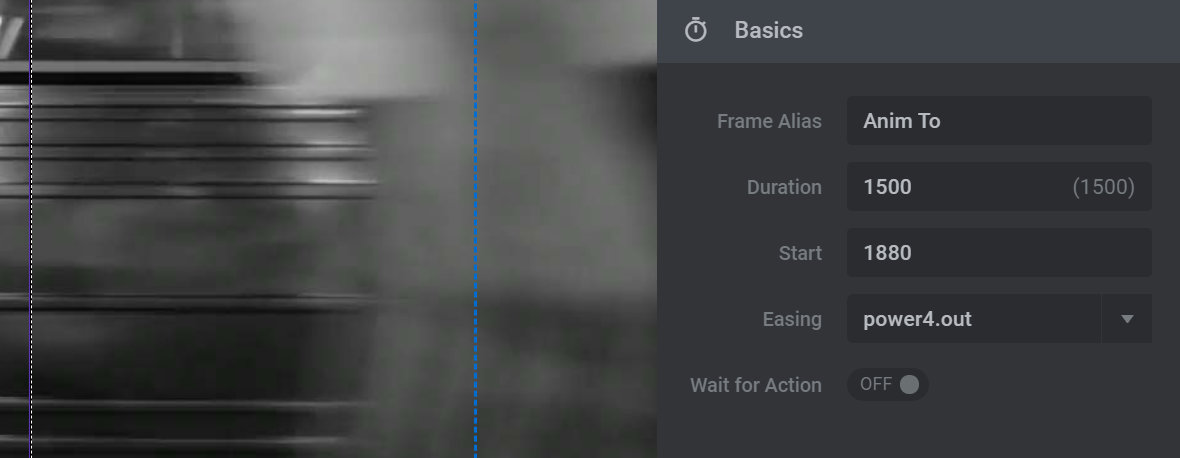
Below that is the Basics panel, which is primarily for controlling animation timing:
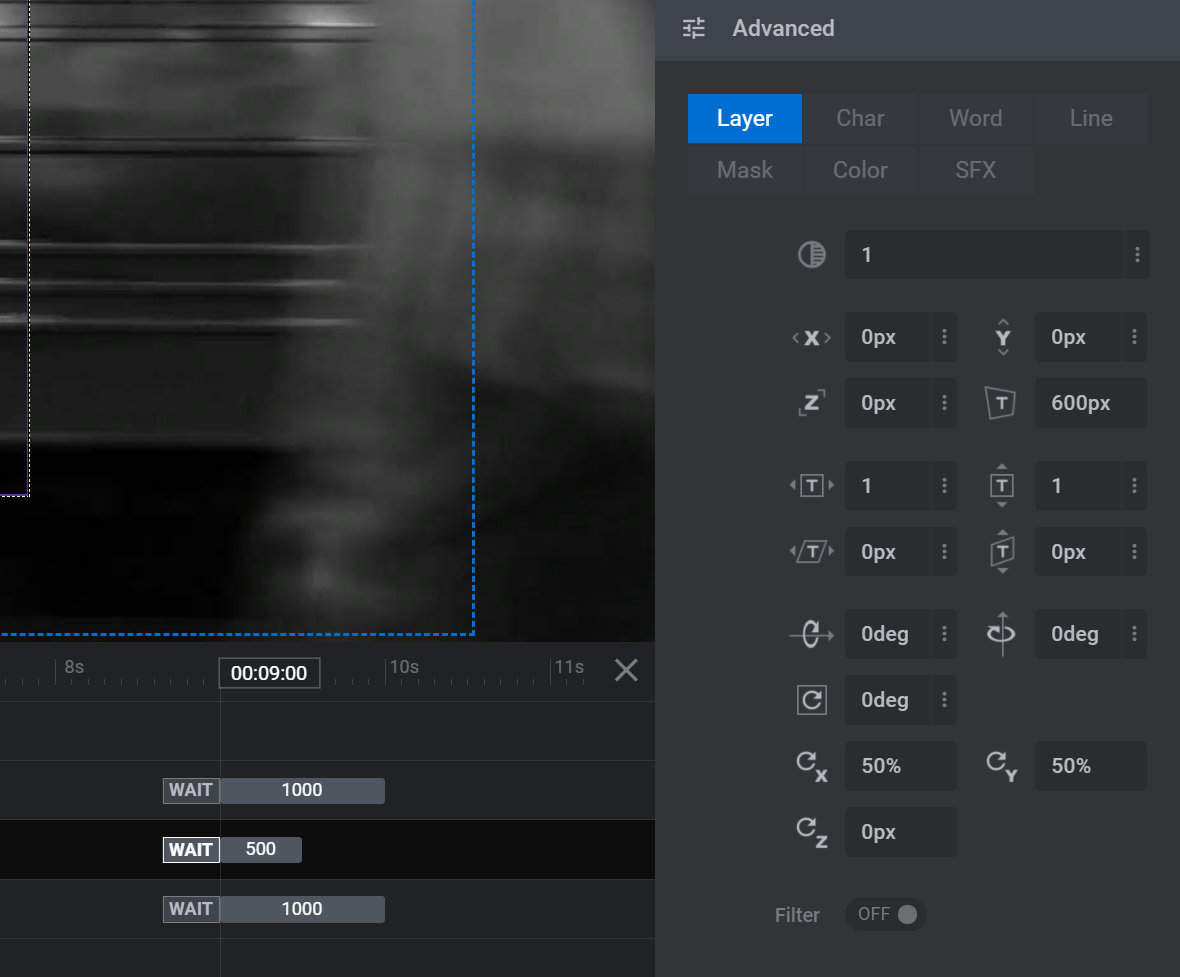
At the bottom is the Advanced panel, which allows you to define how a layer looks at various points throughout its animations:
First Up: Previewing Animations
In order to create animations you need to be able to preview them, so we’ll begin our animation fundamentals section by learning the various ways to preview your work in the module editor.
Previewing Animations by Playing and Scrubbing
Let’s kick off our animation fundamentals by learning how to preview work.
Before you start animating it will be helpful to learn the various ways you can preview your animations while you work.
Timeline Play Button
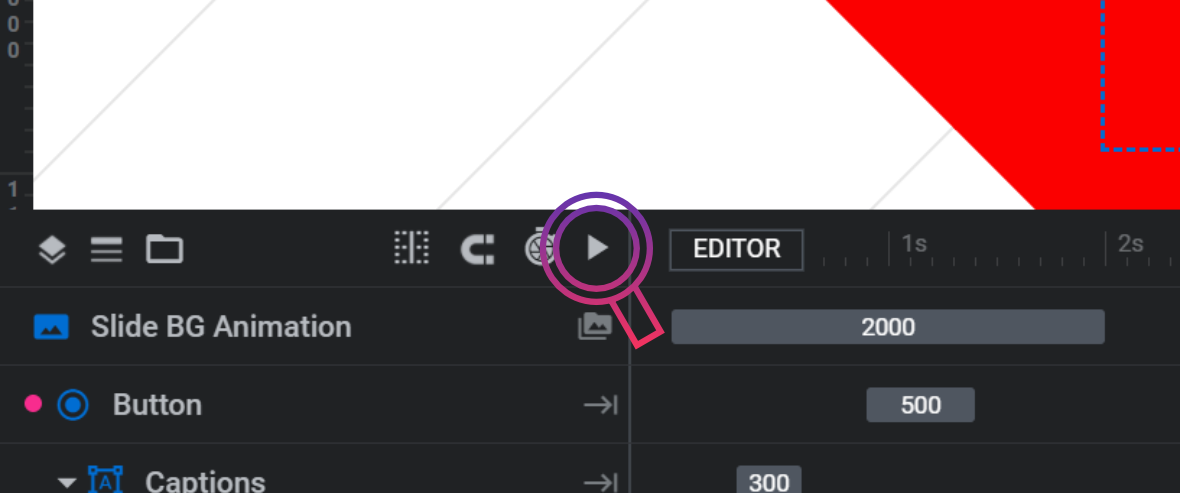
To see all layers [?]
of a slide [?]
animating at once press the triangular play button on the top of the timeline [?]
, above the layer names:
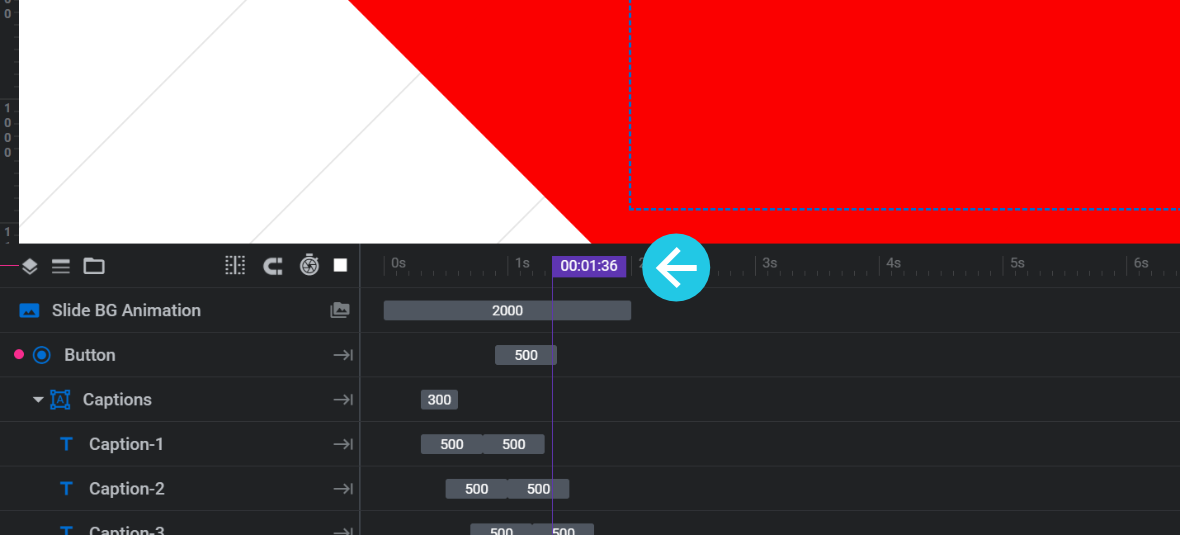
As the animation plays you will see a purple vertical line moving from right to left:
This purple line is referred to as the playhead, which also indicates how many seconds into the animation you are. You will see the time signature in a small flag at the top of the playhead, updating as it moves along.
When the playhead reaches the end of the timeline the animation will stop.
You can also stop the animation at any time by pressing the square stop button that replaces the triangular play button while the animation is running.
Keyboard Shortcut
An additional way to play the animation is by pressing the SPACE bar on your keyboard. Pressing it again while the animation is playing will stop it.
Scrubbing the Timeline Playhead
Click and drag your mouse along the top of the timeline, where you see time signature markers, and the playhead will move along with your mouse:
As you do this you’ll also see the animation play corresponding with the speed you are moving the mouse.
This way of previewing an animation is known as “scrubbing“, and it gives you the ability to move through parts of your animation faster or slower than sitting through regular playback. You can even scrub the timeline playhead backwards if it’s helpful.
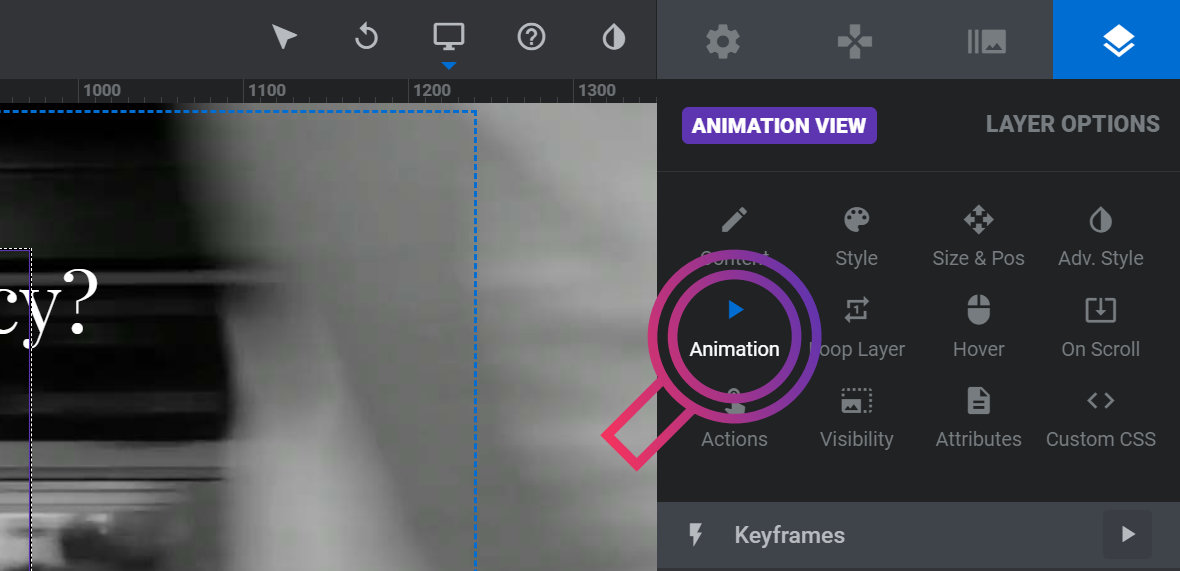
Playing Individual Layer Animations
Select a layer then click the triangular play button along the top of the Keyframes panel to preview that layer’s animation in isolation from the other layers:
Note: If you do not see the Keyframes panel, check the Layer Options panel to see if you are in the Animation View. If not, click Animation and the Keyframes panel will be displayed.
Up Next: The “From” & “To” Animation System
Now you know how to preview the animations you’re working on, let’s move into learning how animations are handled in Slider Revolution [?]
.
We’ll start with the most fundamental concept that powers animation in Slider Revolution – it’s simple and unique “From” & “To” animation system.