In the Getting Started section of this manual we covered a number of the techniques that go into creating and editing template-based modules [?]
.
However, in the interests of keeping that section beginner focused there are a few techniques we left out, saving them instead for right here in the intermediate section.
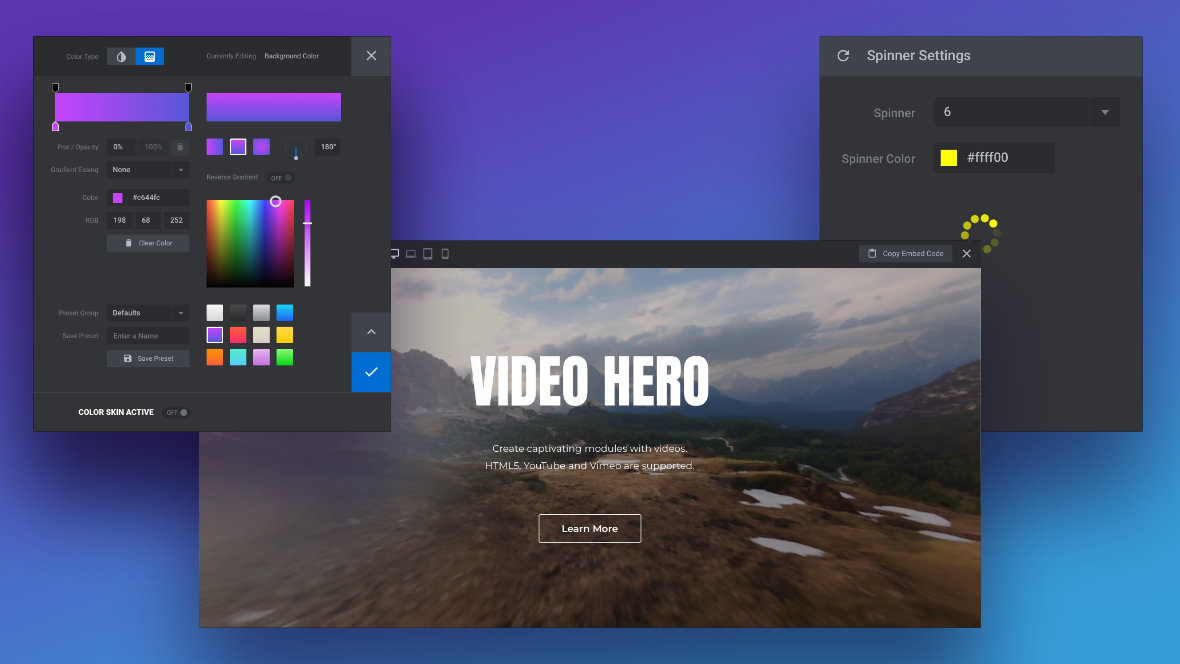
Videos, Color Selection and Spinners
First up, were going to see how to work with videos in Slider Revolution [?]
. You may recall in the Getting Started section we covered using images and image backgrounds, but not videos and video backgrounds. That’s because there is a security setting you have to know about, and it can throw you off if you’re brand new to the software. You’ll see how to deal with this setting shortly.
After that you’ll get an in depth rundown of Slider Revolution’s powerful color selection dialogue box. We touched on it briefly before, but now we’ll go through and show you how to really take advantage of it.
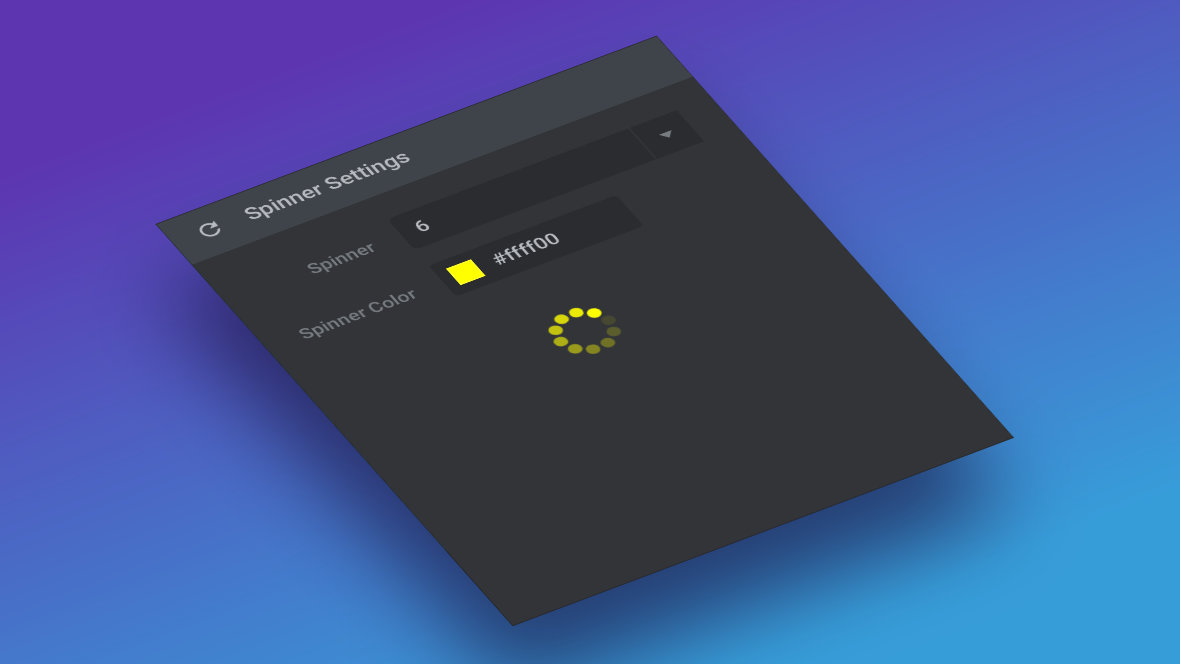
And then you’ll learn how to change the “spinner” of your modules, aka the pre-loading animation.
Coming Up: Swapping Videos
Alright, let’s get into the first of our intermediate template editing topics and see how to change videos and deal with “cross-site origin” settings.
Changing Videos and Dealing with Cross-Site Origin
In this entry we’ll learn how to handle video layers and backgrounds.
Three Video Types
Videos in a Slider Revolution [?]
video layer [?]
can come from one of three sources: YouTube, Vimeo, and HTML5.
HTML5 refers to your own video that you have uploaded to your site, or videos included with Slider Revolution.
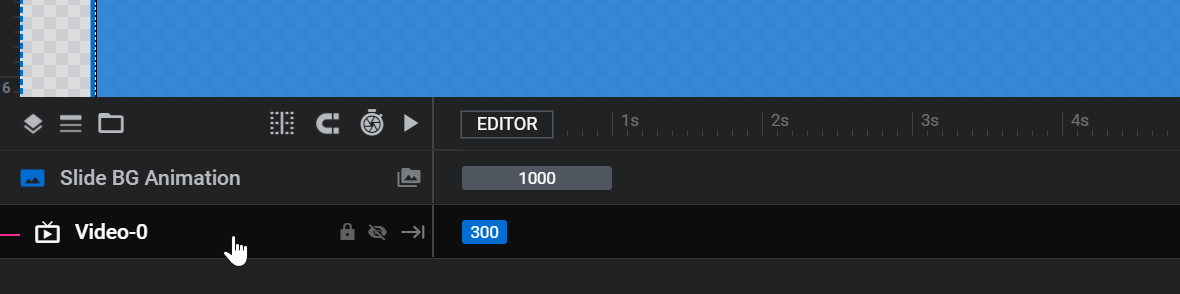
Select a video layer:
Go into its Layer Options tab, Content subsection and Media Content panel. Here you will see the Type option where are you can choose from the three sources mentioned above:
Adding HTML5 Videos
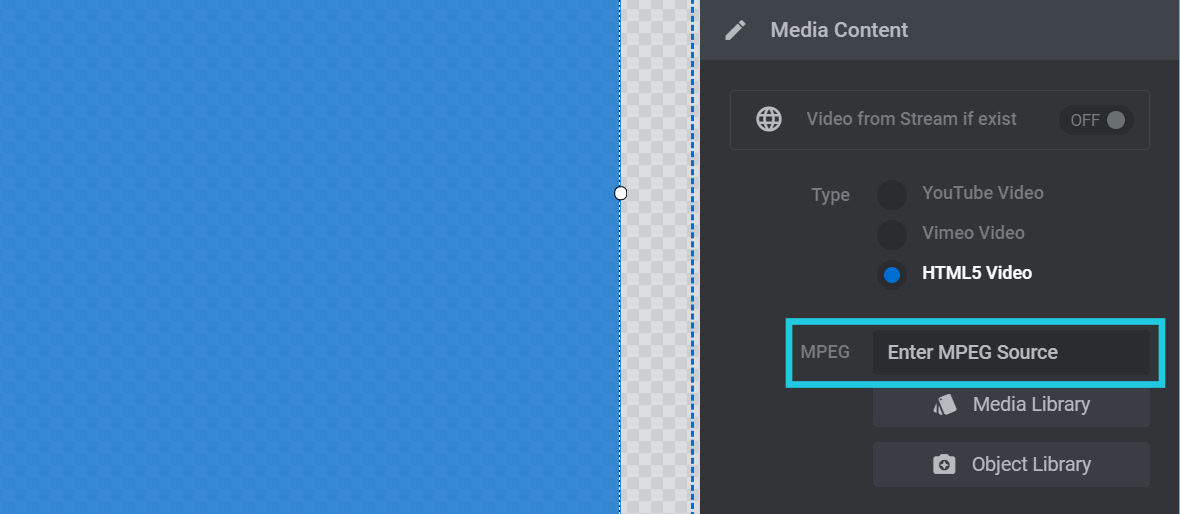
After selecting HTML5 in the video Type option, locate the MPEG field below it:
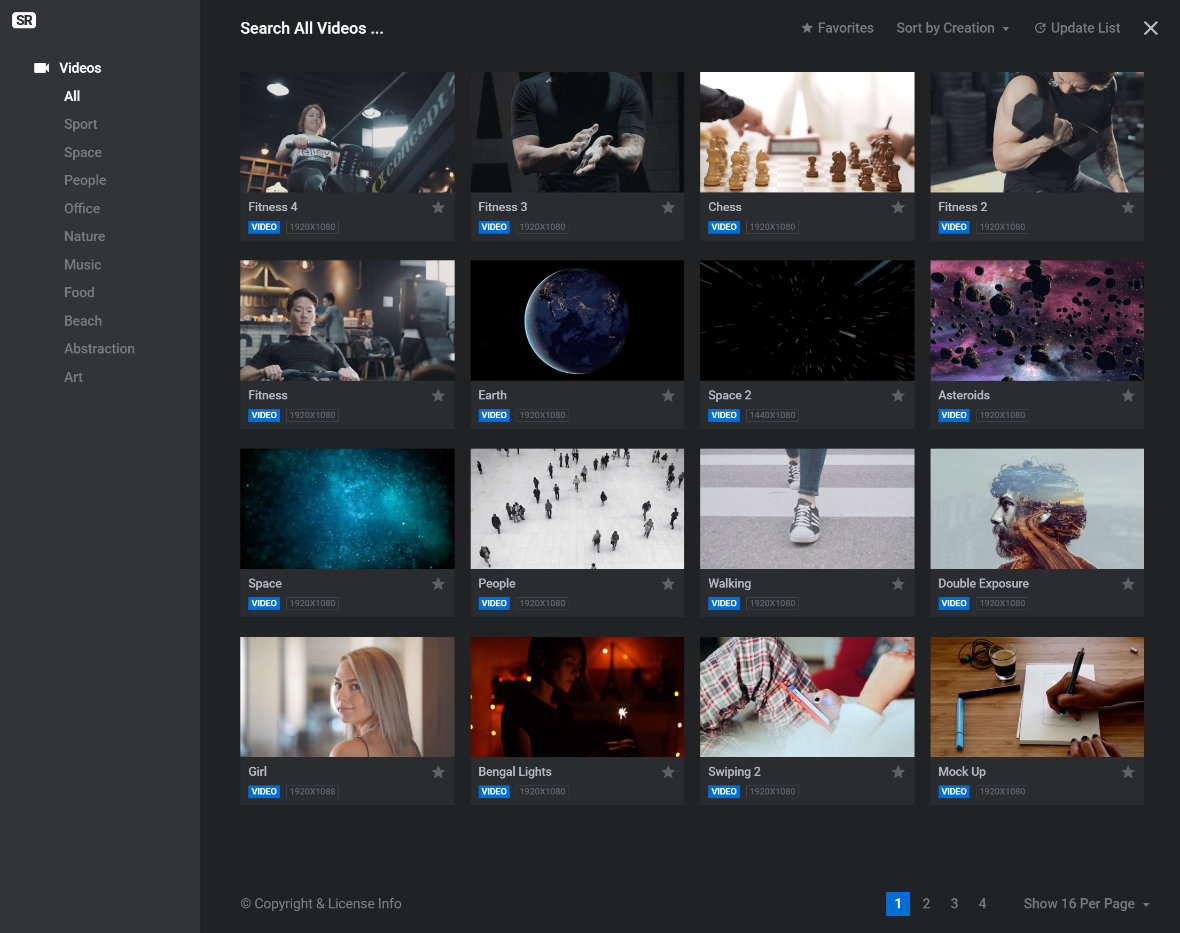
Click Media Library to upload your own video using WordPress. Alternatively, click Object Library to choose from one of the videos included with Slider Revolution:
Choosing a video from Slider Revolution’s Object Library will upload that video to your WordPress site. Whether you upload your own video or choose one from the Object Library, the web address of your uploaded video will then be displayed in the MPEG field:
Adding YouTube or Vimeo Videos
Video ID
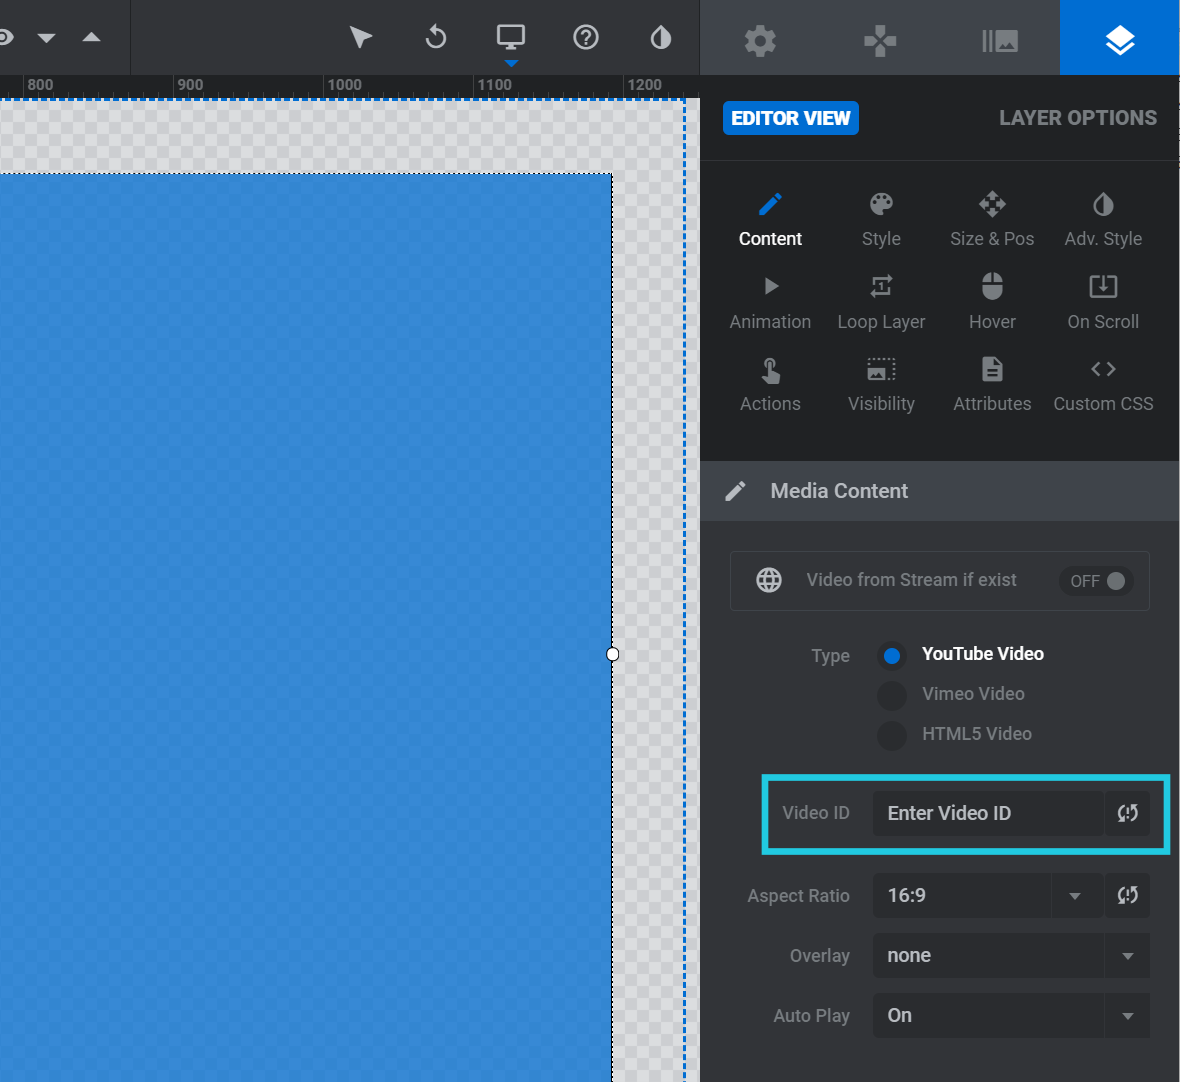
To make either a YouTube or Vimeo video appear in a video layer select either YouTube Video or Vimeo Video in the video Type option. You’ll need to find the ID of the video in question, then copy and paste that ID into the layer’s Video ID field.
The Video ID field can be located in the video layer’s Layer Options tab, Content sub-section, under the Media Content panel:
Finding YouTube IDs
Look in the URL of the video for the string of letters and numbers after: watch?v=
This is the YouTube ID and it should look something like: mn5hC07aGvE
Finding Vimeo IDs
Go to the webpage of the video you want to use and copy the numbers on the end of the video URL after the trailing /
These numbers are the Vimeo ID, and should look something like: 4446067
Media Poster
A media poster is an image, with the same dimensions as the video, that will act as a placeholder until the video is played.
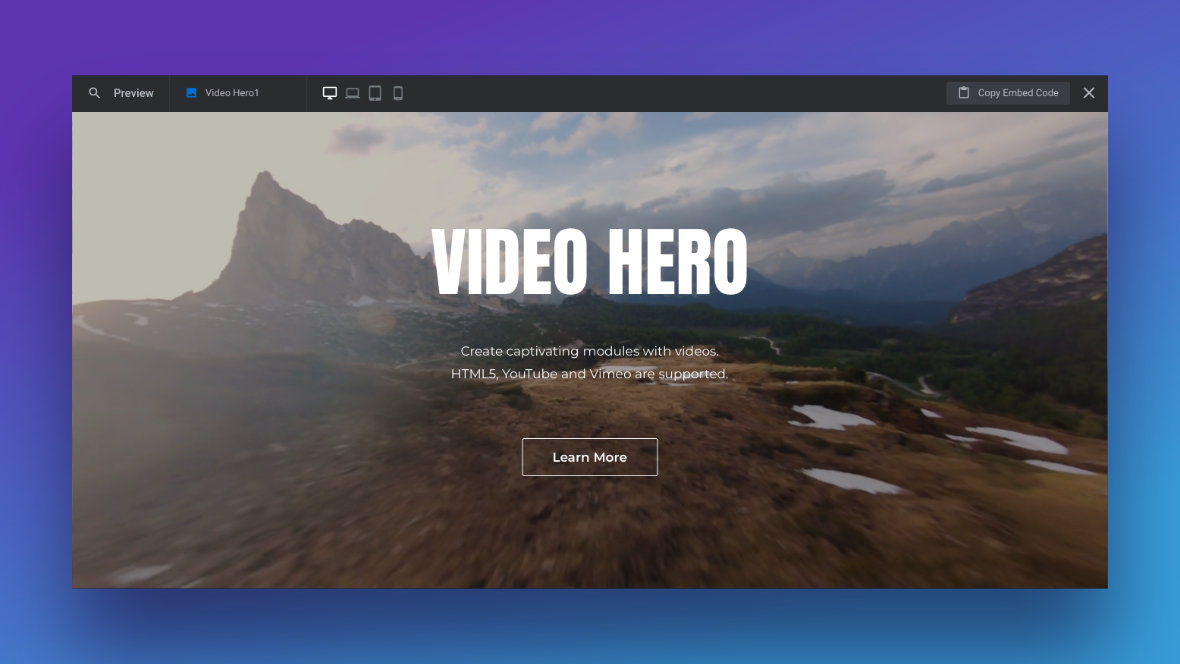
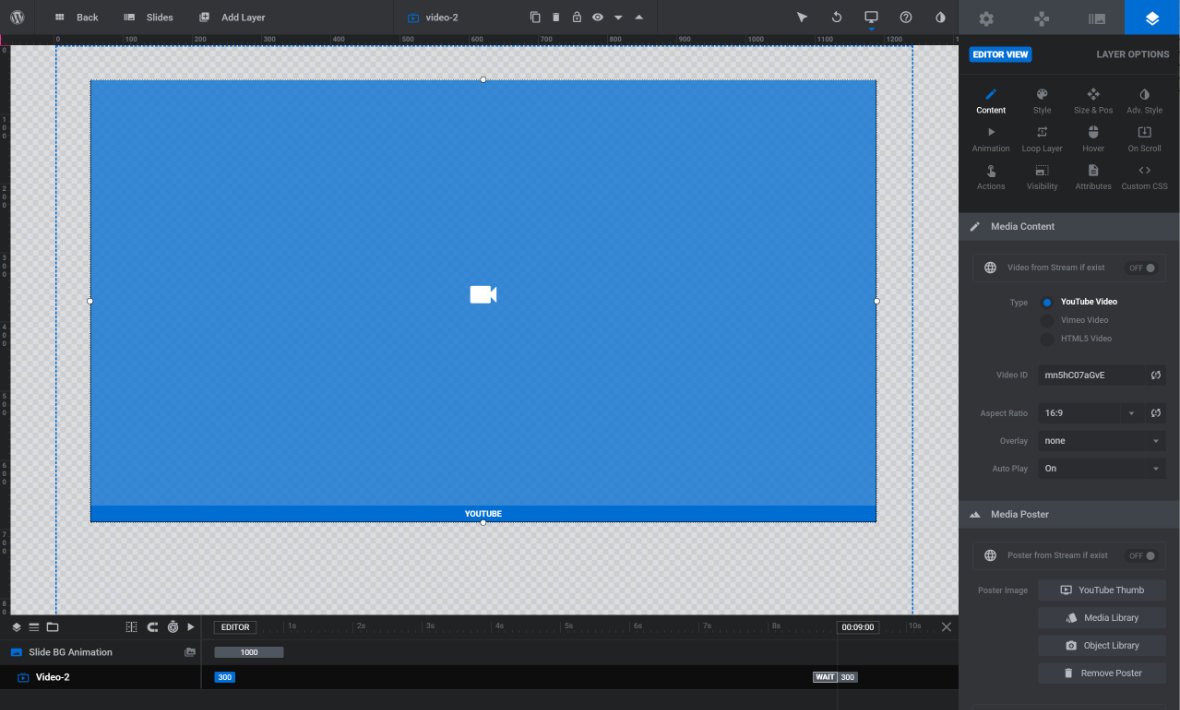
In the following example image, you can see that we have a added a YouTube video to our video layer, however where the video is placed there is only a standard blue placeholder image:
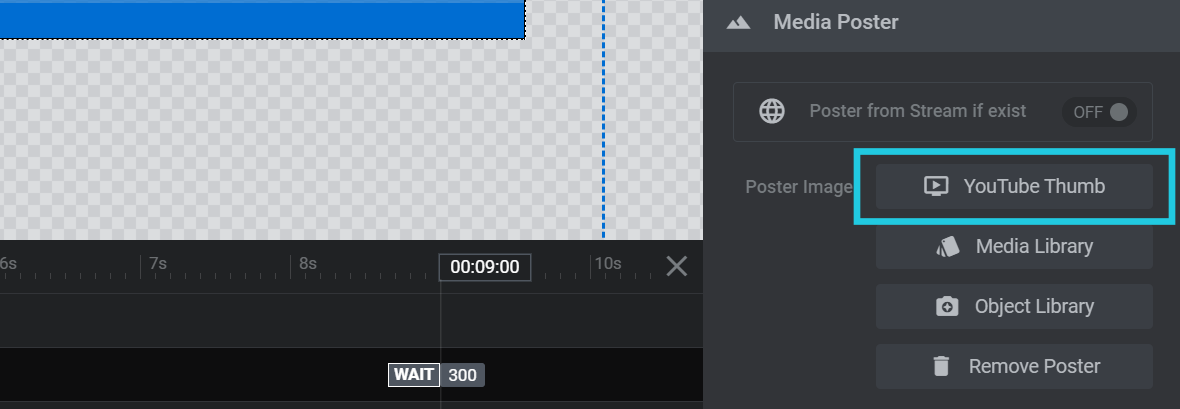
In the Layer Options tab, Content subsection and Media Poster panel, click the YouTube Thumb button:
Slider Revolution will retrieve the YouTube video’s thumbnail image and set it as the media poster:
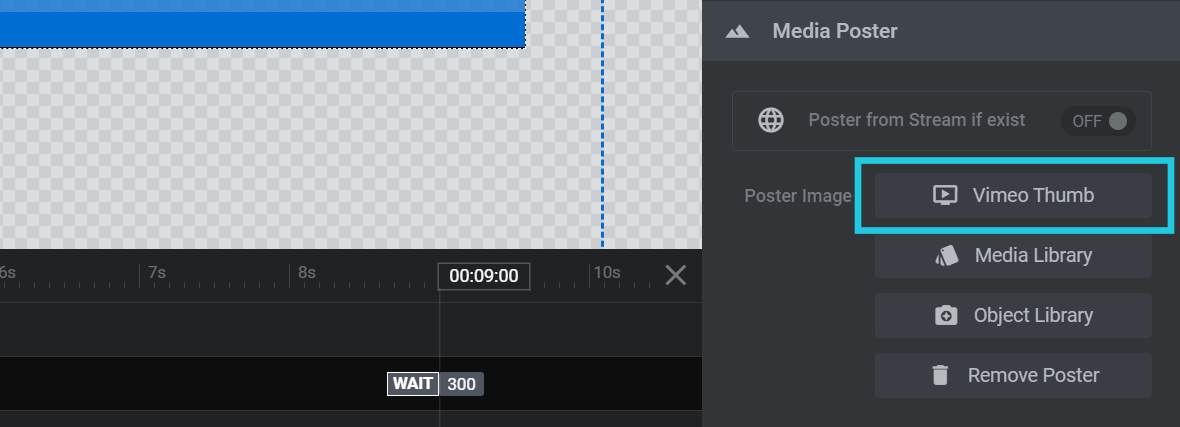
Note: If the video you have chosen is a Vimeo video, the above process remains the same, however in this case the YouTube Thumb button will be replaced with a Vimeo Thumb button:
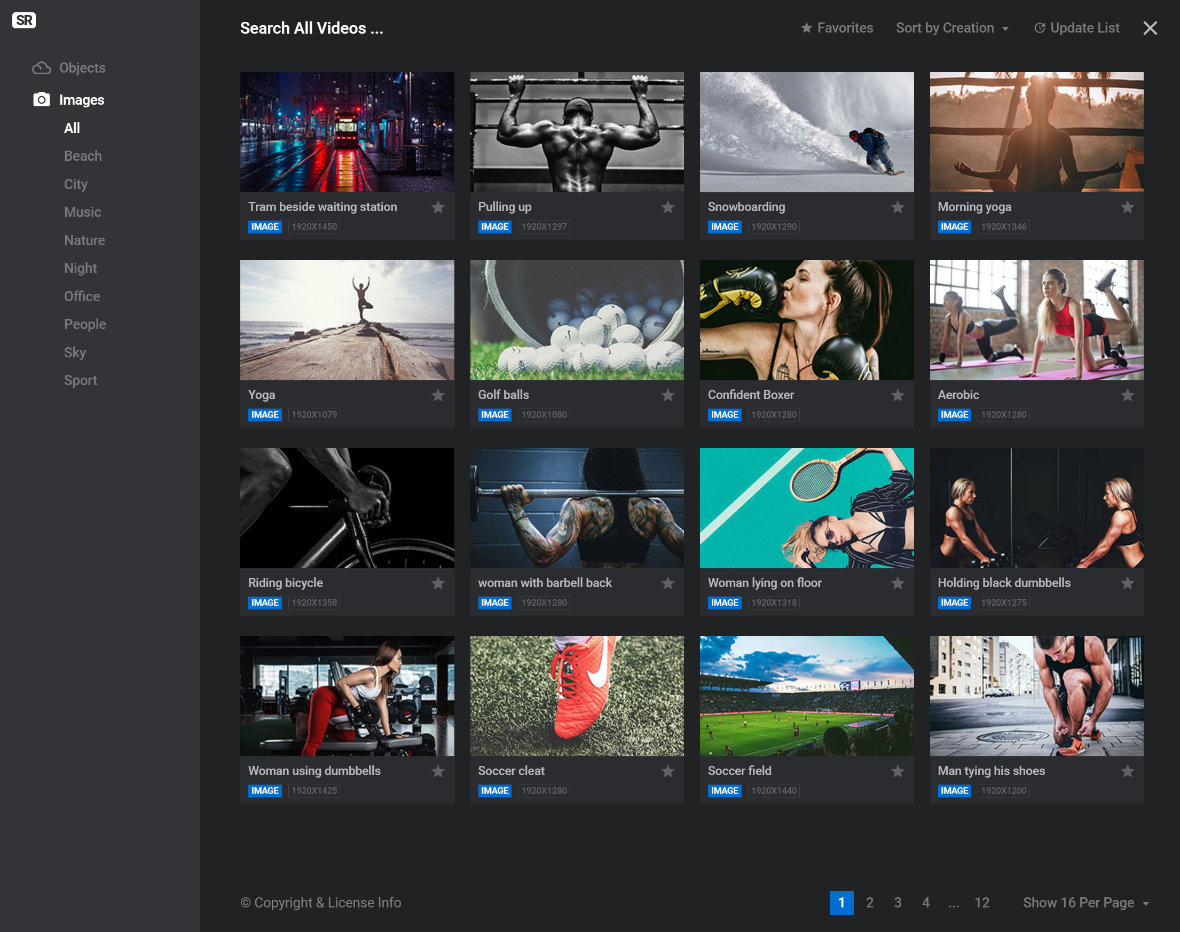
Alternatively you can use your own image from the Media Library, or select one of Slider Revolution’s Object Library images:
If you have selected an image you don’t want, go to the Layer Options tab, Content subsection and Media Poster panel, and then click the Remove Poster button.
Blank YouTube Videos: Dealing with Cross-Site Origin
After adding a YouTube video and saving & previewing your module you may notice your video does not play. This may be because of a security setting used by YouTube called “cross-site origin”.
There’s no need to get into technical detail, but basically it’s a way of ensuring safety when using content from one site on another site.
To solve this issue you just need to communicate the URL of your site to YouTube. This can be done through the Arguments field, which is in the Layer Options tab, Content sub-section, Arguments panel:
In the Arguments field add:
origin=https://yoururl.com
Note: If after clicking in the Arguments field you notice it already has a string of text in it, then just add an ampersand (&) on the end, with no spaces, followed by your new text at the end:
existingtext&origin=https://yoururl.com
For example, if you click in the Arguments field and see a string of text like this:
hd=1&wmode=opaque&showinfo=0&rel=0;
then modify that string by adding your text to the end like this:
The guide above shows processes that apply to video layers. Those same process steps also apply to video backgrounds [?]
, however for a video background the video type and media poster image must be set from within a slightly different area of Slider Revolution.
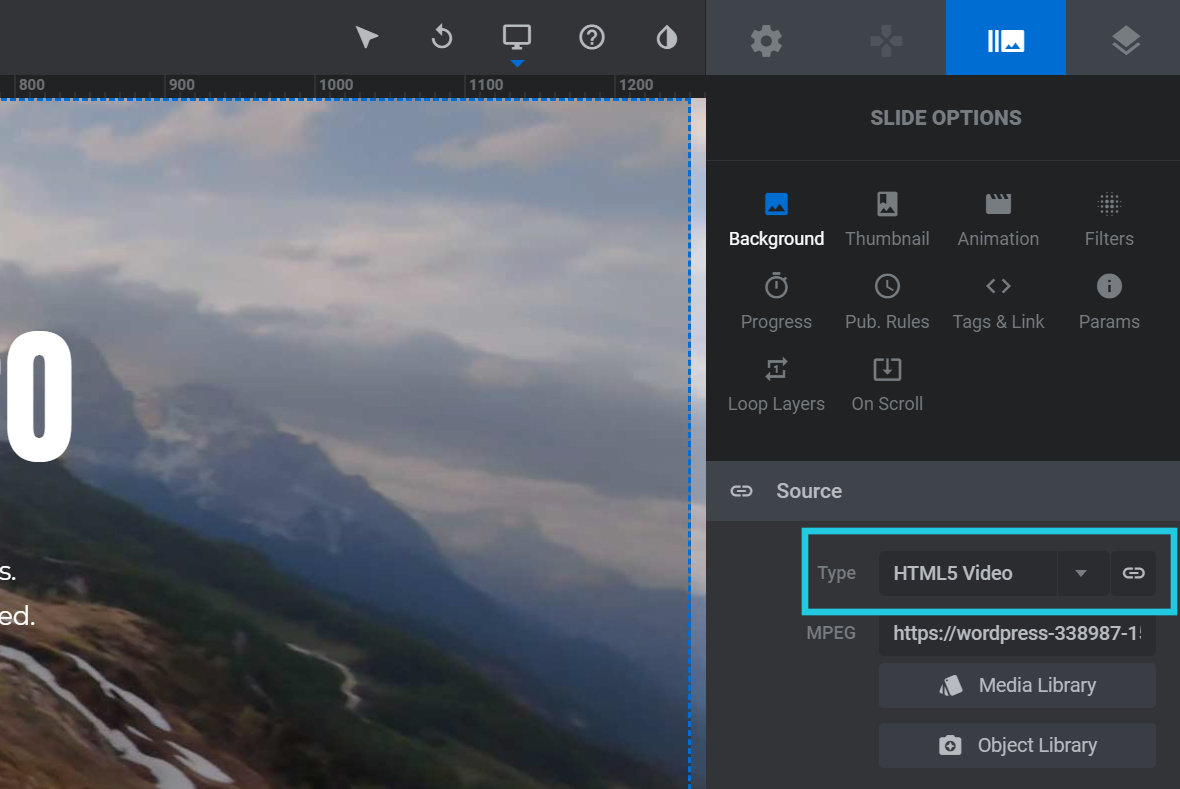
If your video is a part of your background layer, selecting your video type and media poster image is instead performed via the Slide Options tab, Background sub-section, Source panel:
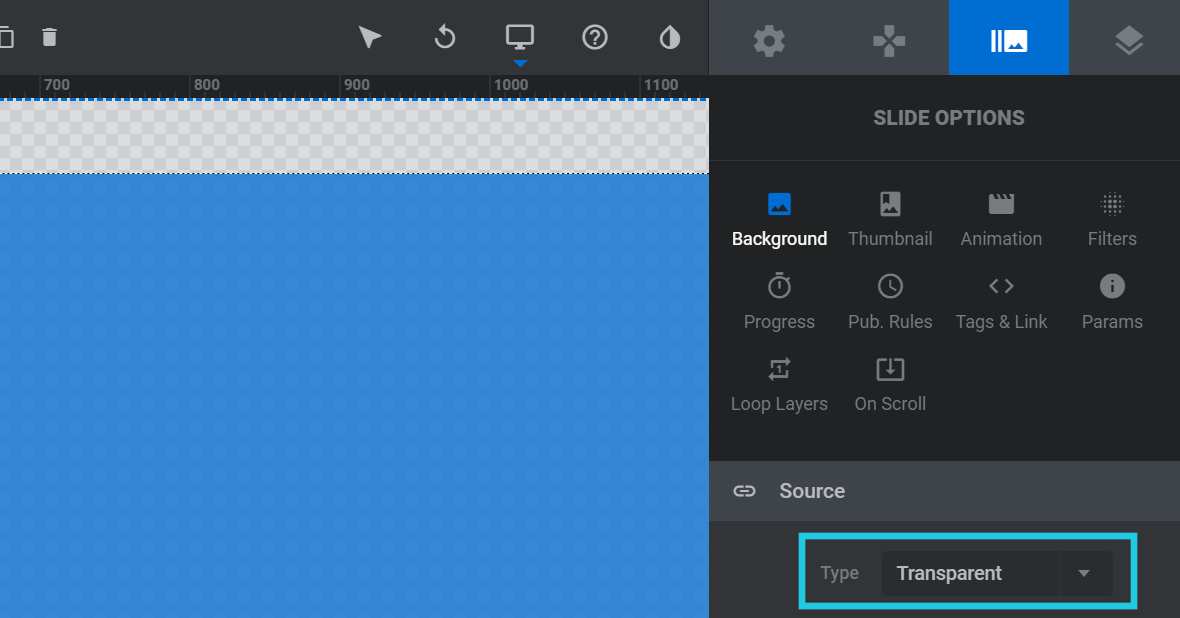
The Type field will be populated with the type of content you have in your background. The example image above shows that the background is a “HTML5 Video”. If you have not yet added any type of content to your background, this field will be set to “Transparent” by default:
The Arguments field is also located in the same Background sub-section, all the way at the bottom in the YouTube Settings or Vimeo Settings panel:
Note: The Arguments field will not be visible for certain types of background content. It is only required for solving cross-site origin issues with playing your YouTube and Vimeo videos, and so the field will only display if you are using a YouTube or Vimeo video in your background.
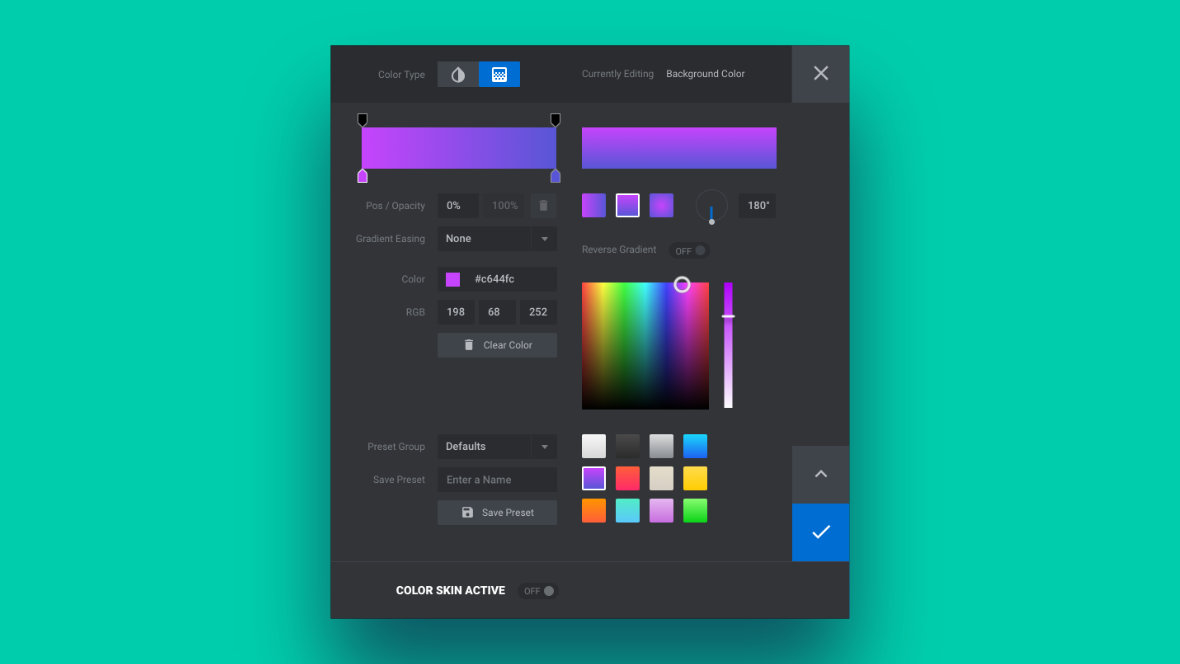
Up Next: Color Selection
Slider Revolution’s color selection dialogue box is a feature rich powerful tool that we have so far only touched on lightly
Coming up next we’ll take a deep dive into this tool and show you how to take full advantage of it when creating color schemes for your modules.