Layers Breakdown: Animation and the Two Layer Types
Let's take a quick look at what we'll be covering in our breakdown of Slider Revolution layers.
We’ll be going over the two types of layers:
1
Media layers, with which you add regular content such as text and images
2
Special layers, with which you perform special tasks such as controlling layout
And we’ll also start looking at how layers facilitate the animations of Slider Revolution.
Media Layers: Text, Graphic, Video & Audio
Add multiple kind of media to your modules with these seven types of layers.
The type of layer [?]
you’ll most commonly use are media layers, those that add text, graphics, video and audio content to your modules [?]
. These layers are the most fundamental building blocks of your designs.
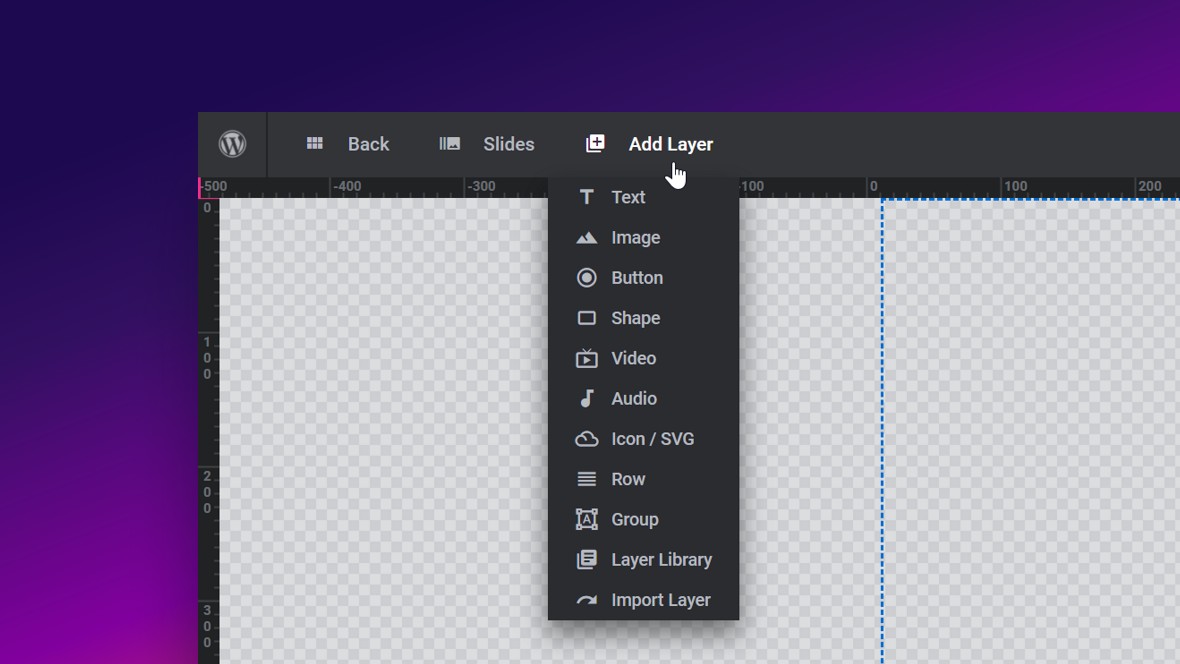
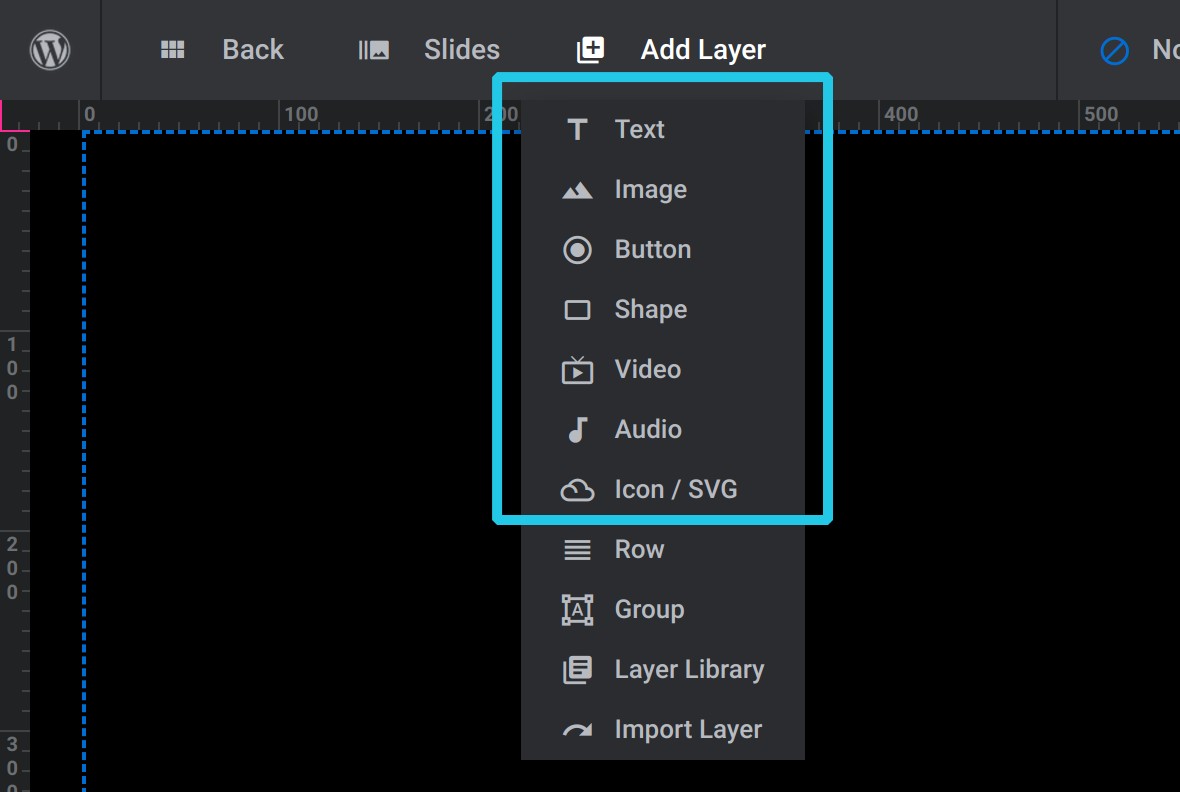
The first seven options on the Add Layer dropdown are all media layer types.
Let’s briefly summarise what each one is.
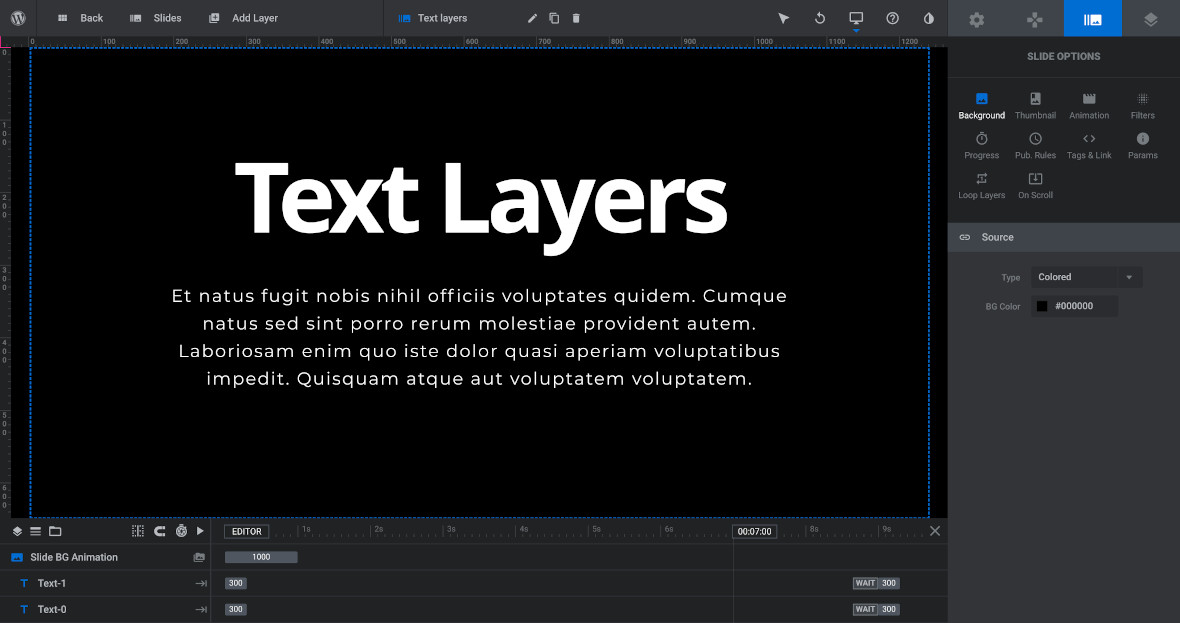
Text
Add headlines or paragraph-like blocks of text content.
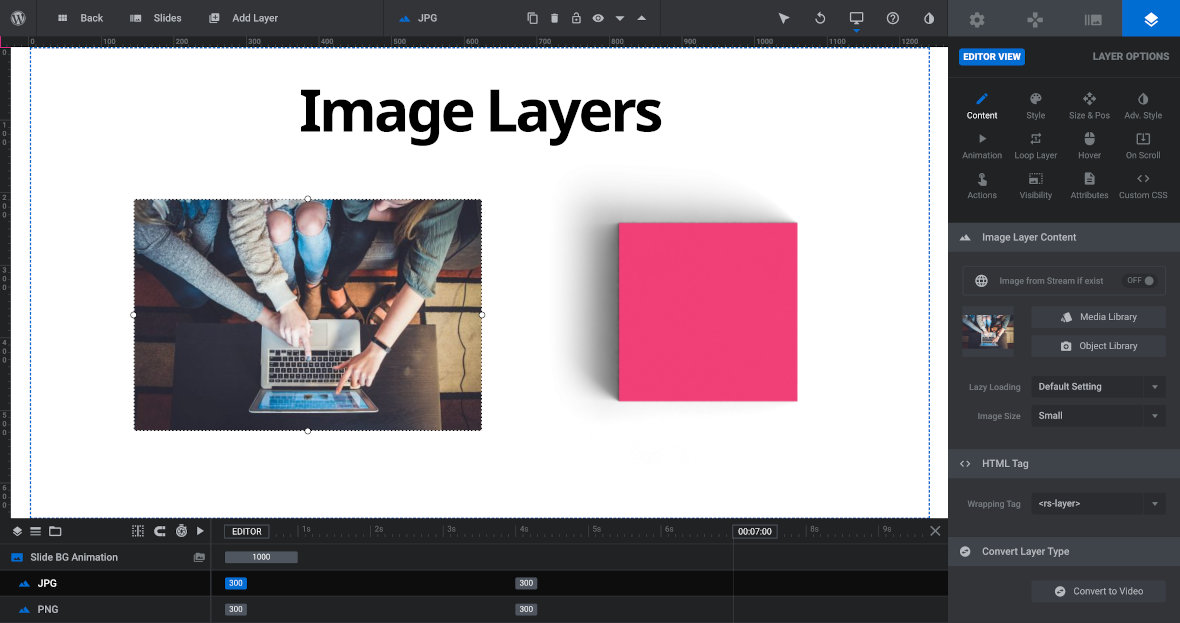
Image
Add JPG, PNG or GIF images. Use this to add photos and illustrations.
Button
Interactive strip of text to which you can apply custom styling or choose from a selection of premade styles. Use this to create objects clearly meant to be clicked on, with changes in their appearances when hovering over them with the mouse.
Shape
Create resizeable, rectangular shapes. Use to create things like backgrounds behind other elements, or overlays to tint photographs.
Video
Embed videos either uploaded to your own site, or from third parties YouTube or Vimeo
Audio
Embed audio files that have been uploaded to your own site.
Icon / SVG
Choose icons or SVGs (scalable vector graphics) to use from Slider Revolution’s included library.
Special Layers: Rows, Groups, Backgrounds & Global
Access extra functionality through these four special layer types
In addition to the seven types of media layers [?]
in Slider Revolution we have previously described, there are also four types of special layers.
Row Layer
Group Layer
Background Layer
Global Layers
Instead of adding media to a module [?]
, these special layers provide some type of special functionality. Let’s check out what each one does.
Row Layer
If you want to create some type of grid layout for your content start by adding a Row Layer. By default it will be split into 3 equal width columns, but it can be adjusted to have any number of columns at any widths that you’d like. You can also stack multiple rows to create any configuration of grid you might need.
Example of two rows with 3 equal width columns.
Group Layer
Group Layers allow you to connect multiple layers together. This helps you to organize your timeline and enables you to easily move multiple layers on your canvas [?]
as though they were a single layer.
Example of multiple layers contained within a group layer.
Background Layer
Background Layers are the default layer added to every single slide. They are always behind other layers on the canvas and are positioned as the top-most stack in the timeline [?]
. They can be made invisible, but they cannot be removed.
Example background layer using photograph.
Global Layers
Global layers [?]
are layers that will appear on every slide [?]
, above all layers. They are added through a dedicated Global Layers area. Think of this area as a sort of “floating” slide that you can use to create elements for your module that should always be visible.
Click the image below to see a live demo of global layers in action. Notice how the traveler image, which is on a global layer, appears on every slide.
Next Up: Layers and Animation
Now we have just one more topic to cover in our layers breakdown and that is how layers act to facilitate animation in Slider Revolution.
Animation Starts with Layers
One of the most important functions of layers is to facilitate animation.
As we have learned, Slider Revolution has various types of layers [?]
available to add and organize content within your modules [?]
. The next important foundational concept to learn is how to enable animation, from which you can make the most of Slider Revolution’s impressive visual capability.
Every layer added to a slide [?]
automatically comes with tools that make animating it a simple 2-step process:
1
Decide on a starting state for the layer, aka Anim From.
2
Decide on a finishing state for the layer, aka Anim To.
“Anim From” & “Anim To” in the Module Editor.
Slider Revolution will then automatically take care of everything for you, animating the layer between its starting and finishing states.
For example, you might set a text layer’s starting state (Anim From) to be yellow, small, and on the left side of the slide.
You then might set its finishing state (Anim To) to be blue, large and on the right side of the slide.
Slider Revolution will then automatically animate:
A transition from yellow to blue, passing through intermediate colors like green along the way
A change in size, growing from small to large size
A shift in position, moving from the left side of the slide to the right
This 2 step process can be performed multiple times per layer to create multiple animations, and for each of these animations you will see a corresponding strip appear on the layer’s track in the timeline [?]
. By default a newly added layer has two such strips, one animating its entrance into the slide, and another animating its exit from the slide.
This layer driven animation process is simple but incredibly powerful, because of four main factors:
1
The variety of states you can change and animate between
2
The controls available for animation timing
3
The ability to have as many or as few animation strips per layer as you please
4
Additional, next level animations provided via special effects
We’ll be digging into the power of Slider Revolution animation in much more depth as we go along, but for now, that covers the most important elements of how it works.
Next: Get Productive Fast
Now that we have all the foundational concepts for working with Slider Revolution, it’s time to get into the practical side of editing modules.
First though, let’s go over what you’ll be learning in our section on module editing basics.