Let's take a look at the two animations every slide has and the states that make them up.
On the previous page of the manual we covered how animations in Slider Revolution [?]
are represented by animation strips that transition between From and To animation states.
A layer [?]
can have as many of these animation strips as you would like, but every layer always has at least two animation strips, which are added to it by default. The first is the IN animation and the second is the OUT animation.
The “IN” Animation
The IN animation defines how the layer comes in to the slide, i.e. how it enters. For example, a layer might fade in, or move in from outside the canvas [?]
.
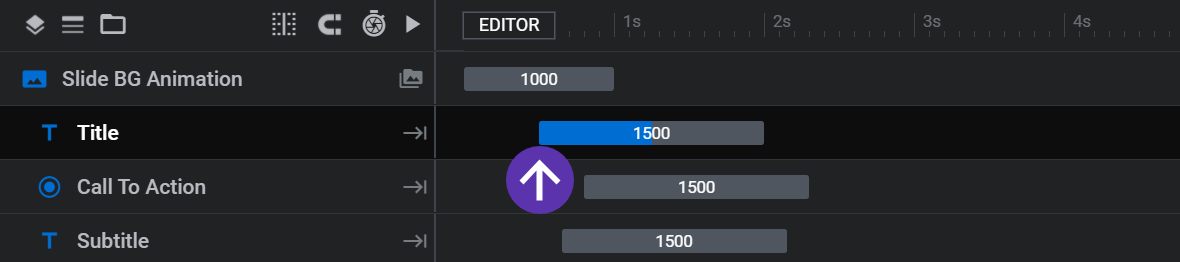
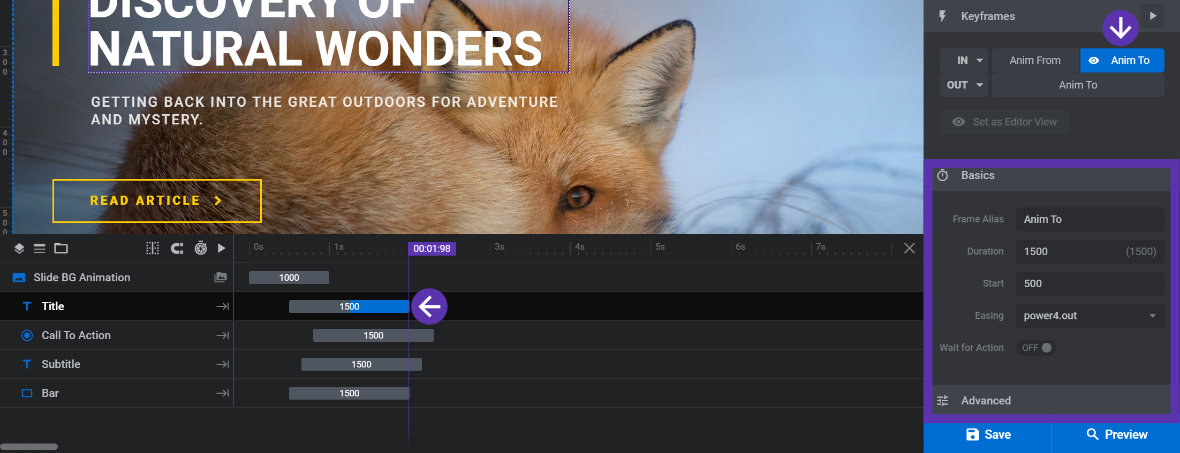
The IN animation is typically found at or near the beginning of a layer’s track in the timeline [?]
:
In this example, the arrow shows where the IN animation begins in the “Title” track.
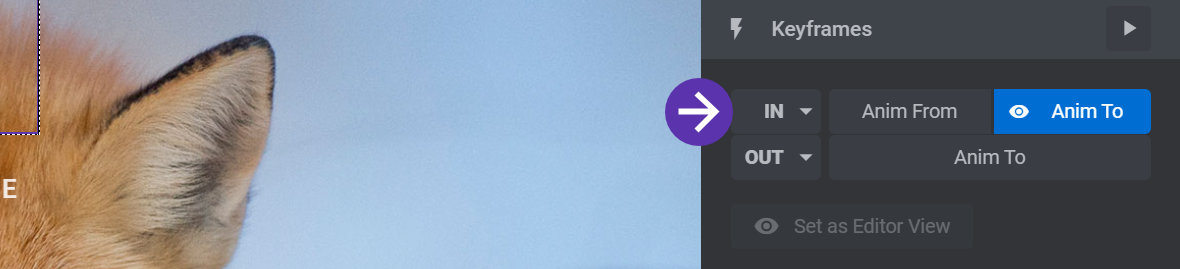
The IN animation is also represented in the Keyframes panel by the line with the label IN on its left side:
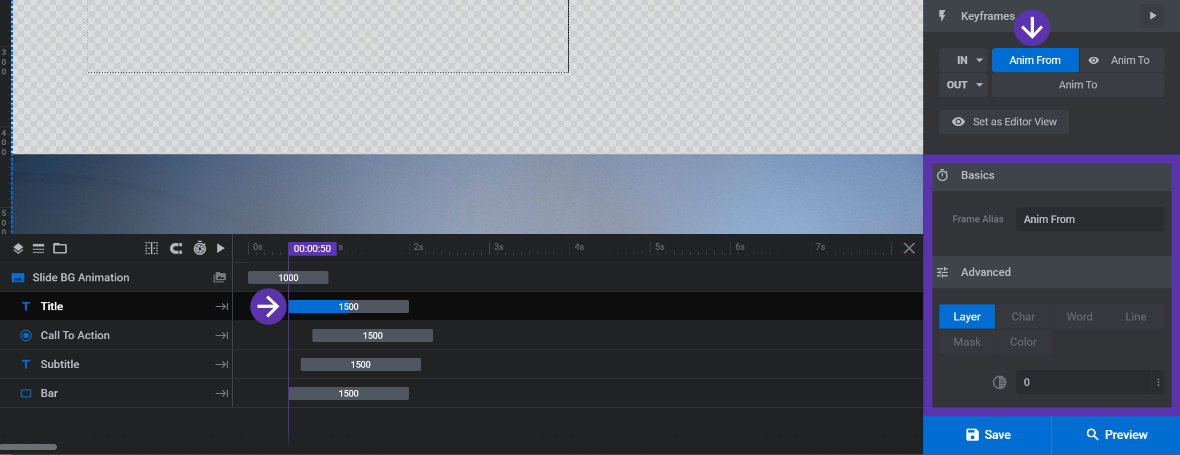
You can jump straight to the IN animation’s From state settings, (seen in the Basics and Advanced panels), by clicking it’s Anim From button:
Click the Anim From button to see the From state settings for the IN animation. Here the “Title” animation is about to start fading in.
Note: An overview of the From and To state settings can be found in the previous page of this manual.
Likewise, you can jump straight to the IN animation’s To state settings by clicking the Anim To button, (the one on the same line as the IN button):
Click the Anim To button to see the To state settings for the IN animation. Here the “Title” animation has finished fading in.
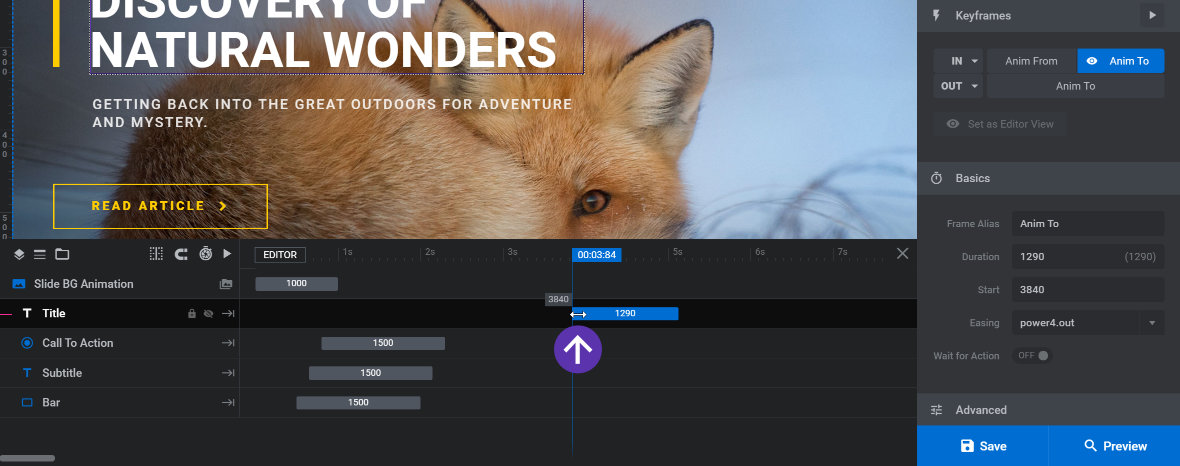
The IN animation can be freely repositioned by clicking and dragging it along its track [?]:
The “OUT” Animation
The OUT animation defines how the layer goes out of the slide i.e. its exit. For example, a layer might fade out or move outside of the canvas.
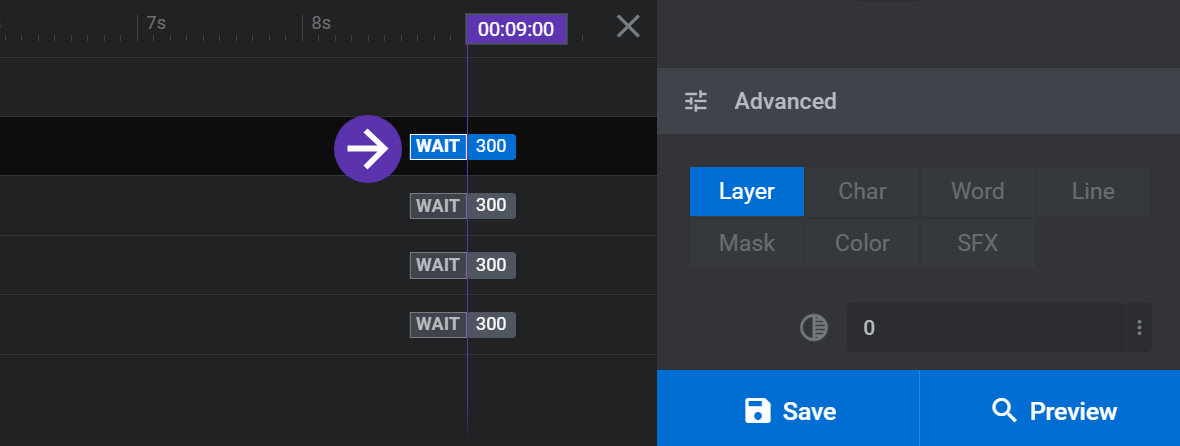
The OUT animation is typically found at or near the end of a layer’s track in the timeline:
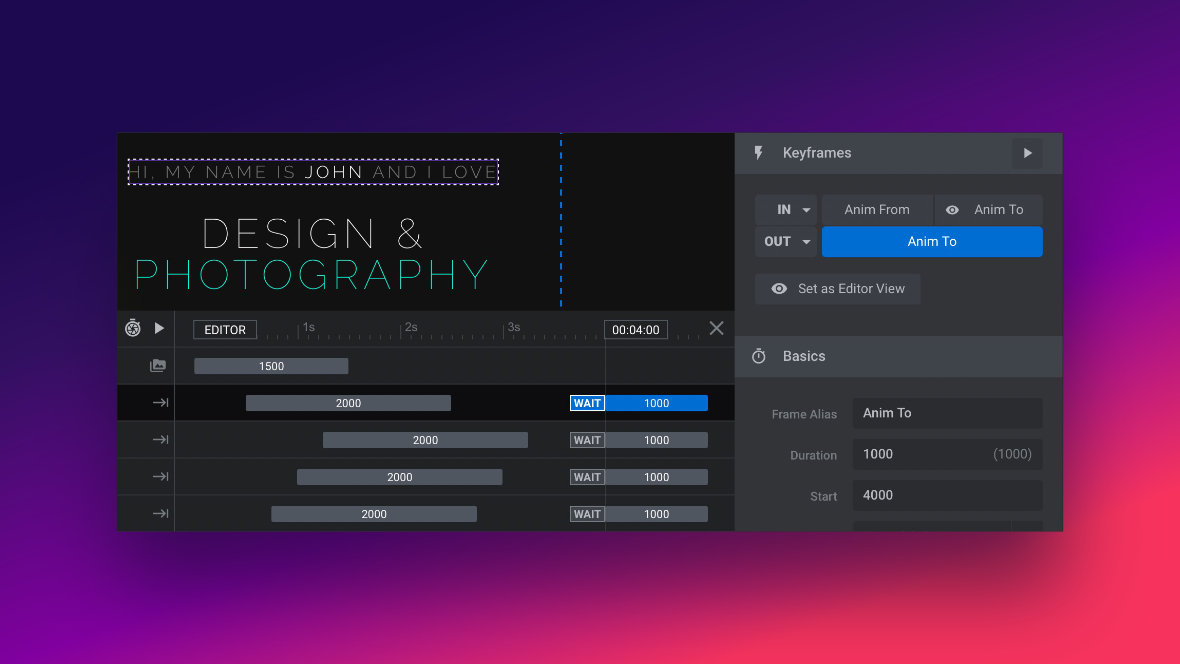
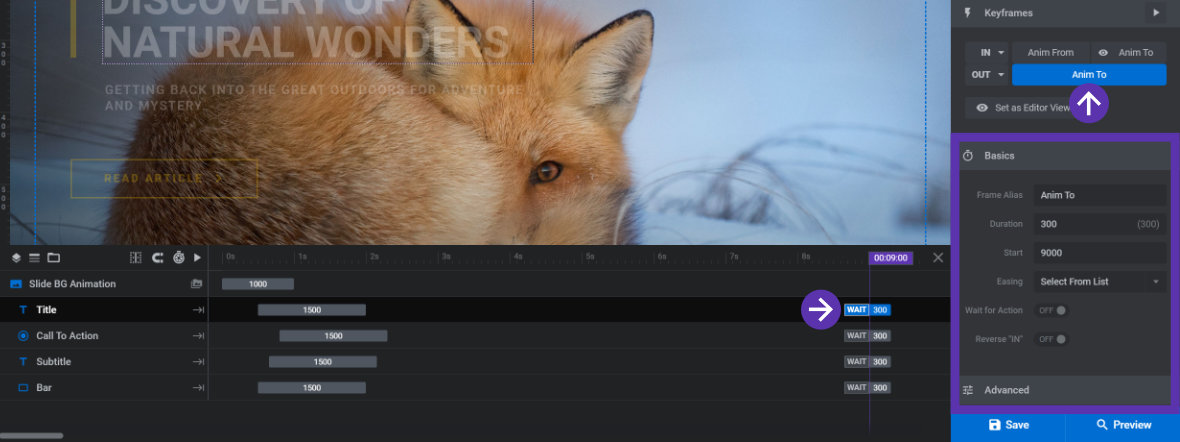
The OUT animation is also represented in the Keyframes panel by the line with the label OUT on its left side:
Click the Anim To button (in the OUT line of the Keyframes panel) to see the To state settings for the OUT animation.
Neither the IN nor the OUT animations can be deleted, even if you don’t want the layer to make any transitions at any point. You can, however, set them to use a “No Animation” preset, something we’ll cover in the upcoming page on using animation presets.
When you need to move the OUT animation though you will have to use the WAIT control, which we’ll go over in the next page of the manual.