Make a Gallery from Selected Shopify Store Images
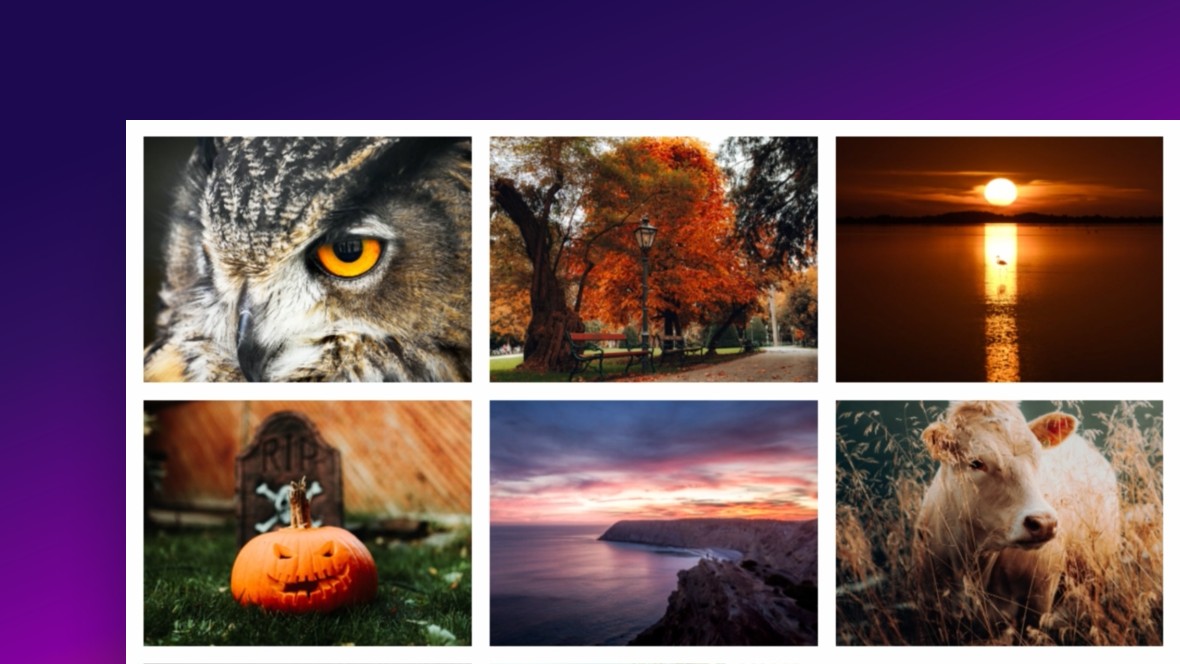
Table of Contents
- Using Custom Grid Content
- Video Version
- Change Source & Add Images
- Save & Publish Your Grid
Using Custom Grid Content
In the last two tutorials we saw how to use two of Essential Grid’s three content types. We learned to create a video showcase in under 3 minutes using the Stream content type, and how to show off your products using the Products content type.
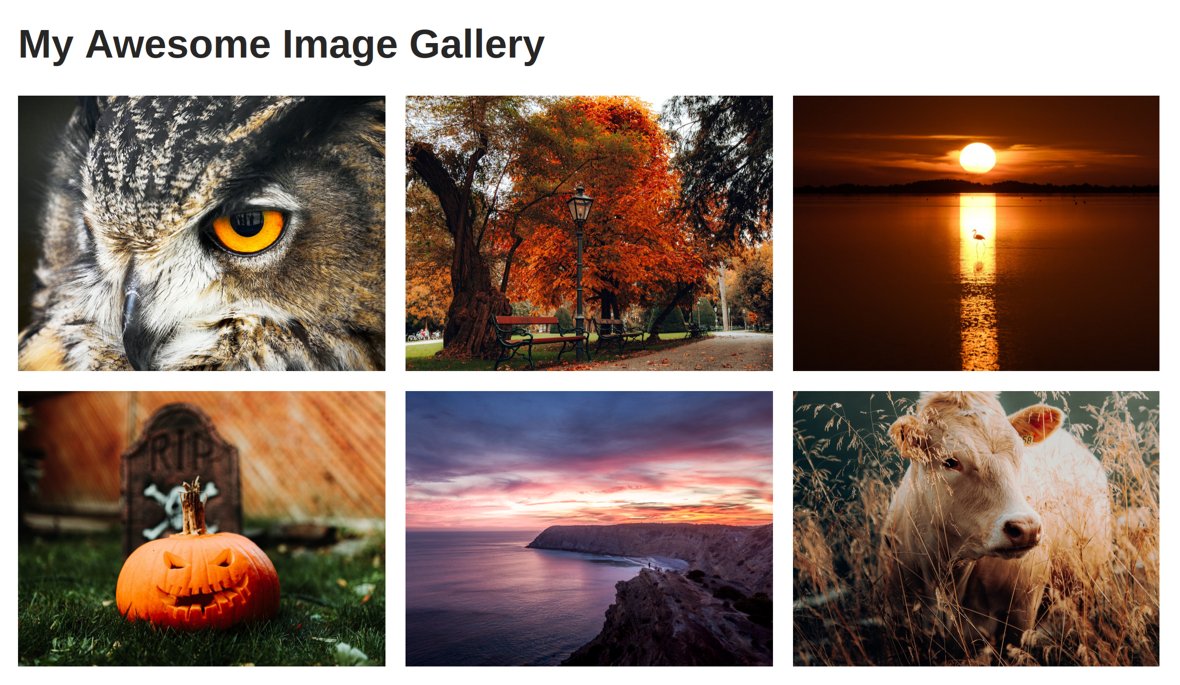
In this tutorial we’ll see how to use the third content type, Custom Grid, to create a gallery of hand-picked Shopify Store images (Content > Files).
Using the Custom Grid content type allows you to fill up a grid with a mix of just about any type of content you like. In this case we’re going to use it to showcase a selection of images chosen from the Shopify Store images (Content > Files).
Note: If you don’t already have some nice images uploaded to your Content > Files, you might like to add some before moving on.
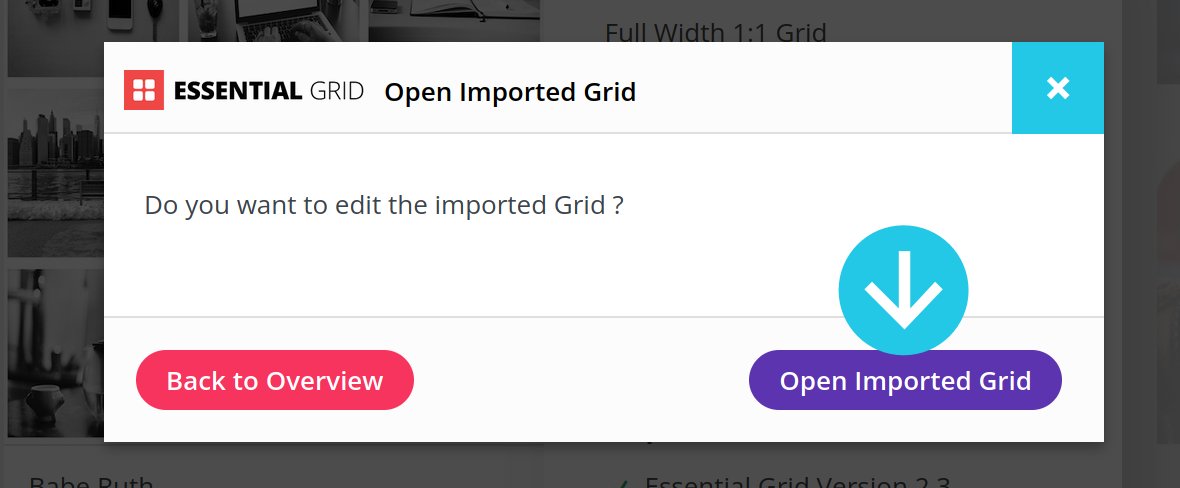
Create & Edit Grid
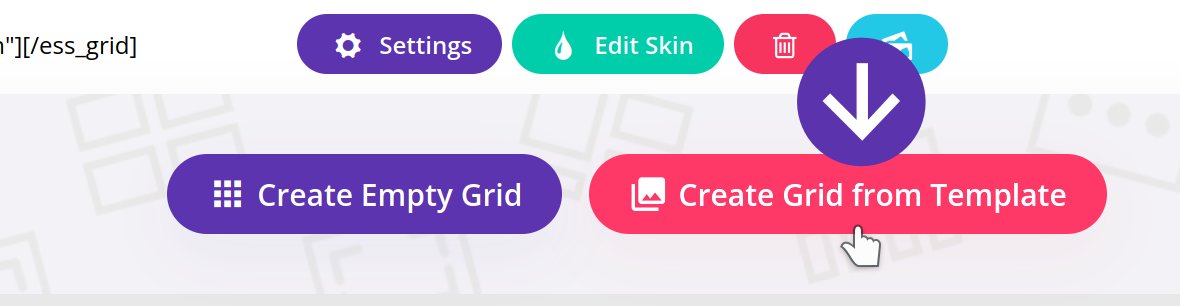
Let’s head to the Essential Grid app dashboard again and create a grid from a template:
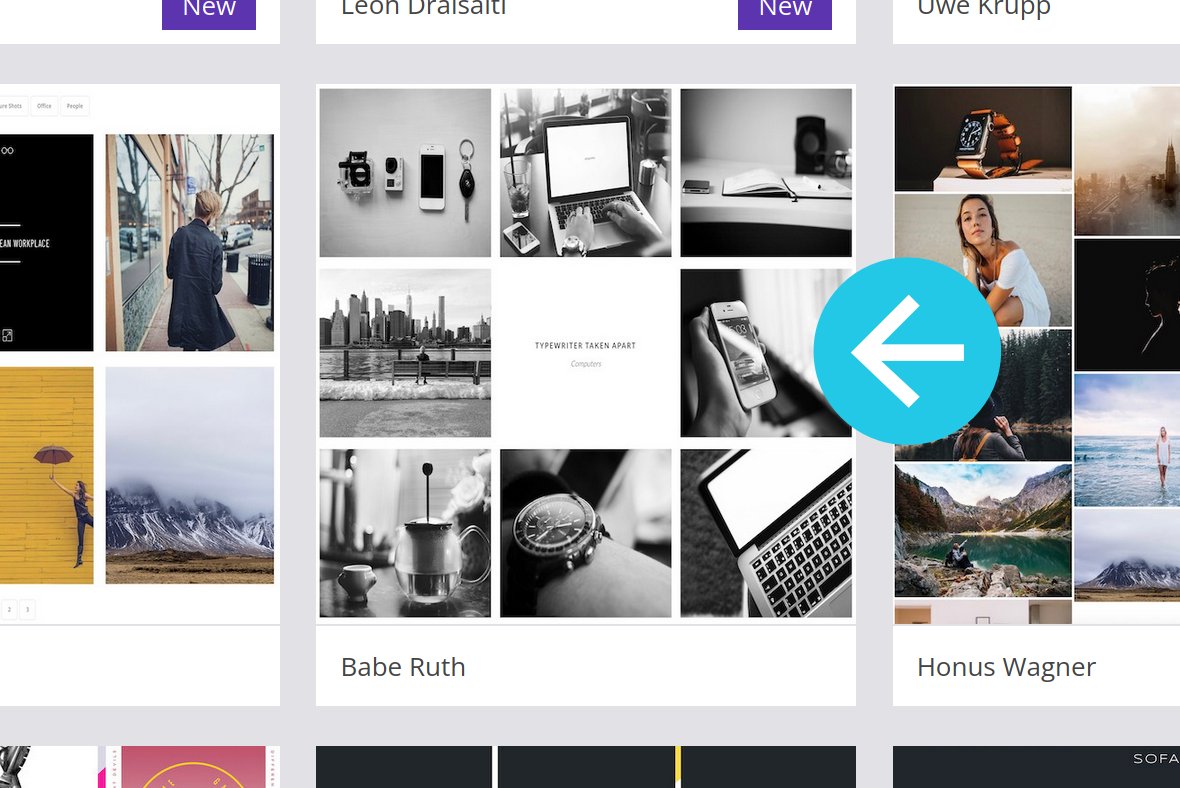
This time we’re going to choose the Babe Ruth template, currently on the second row in the gallery:
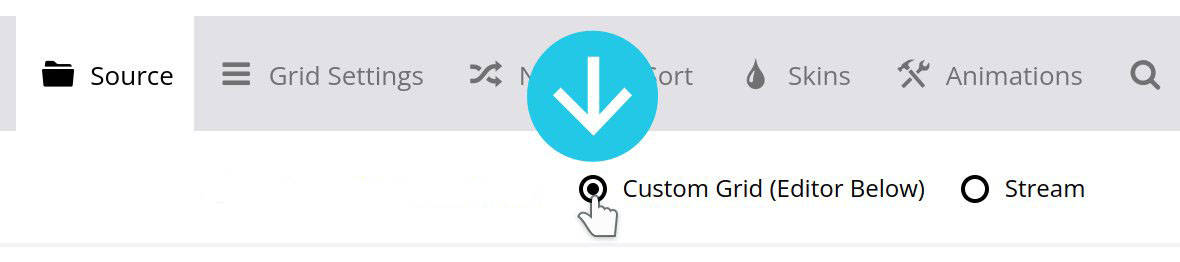
Change Source & Add Images
Switch into the Source tab, and this time set the content type to Custom Grid:
Staying in the Source tab, scroll down to the Add Items sub-section at the bottom:
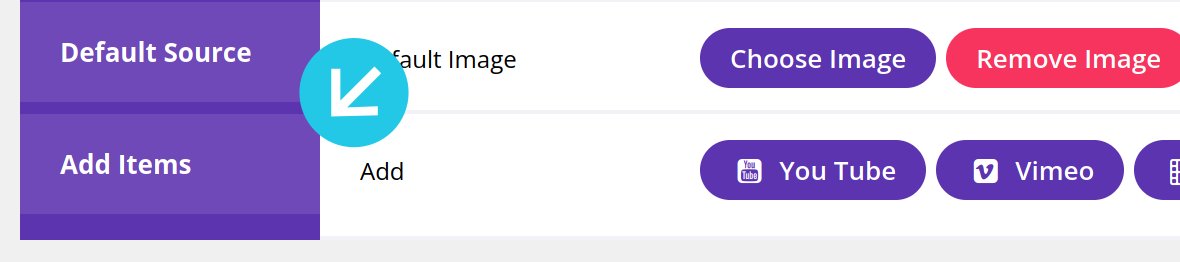
Click the purple Image(s) button:
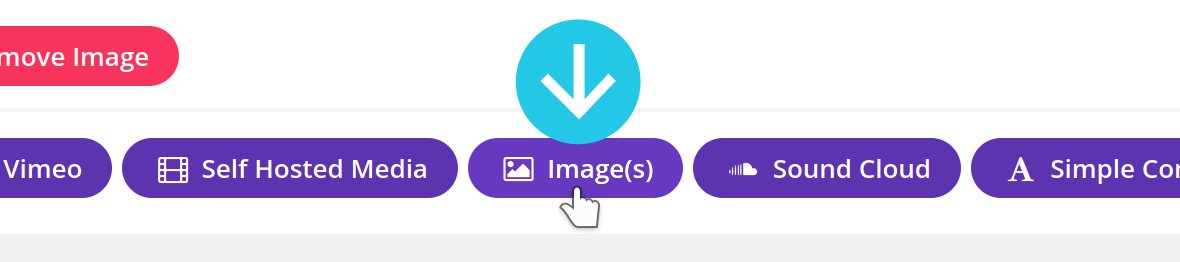
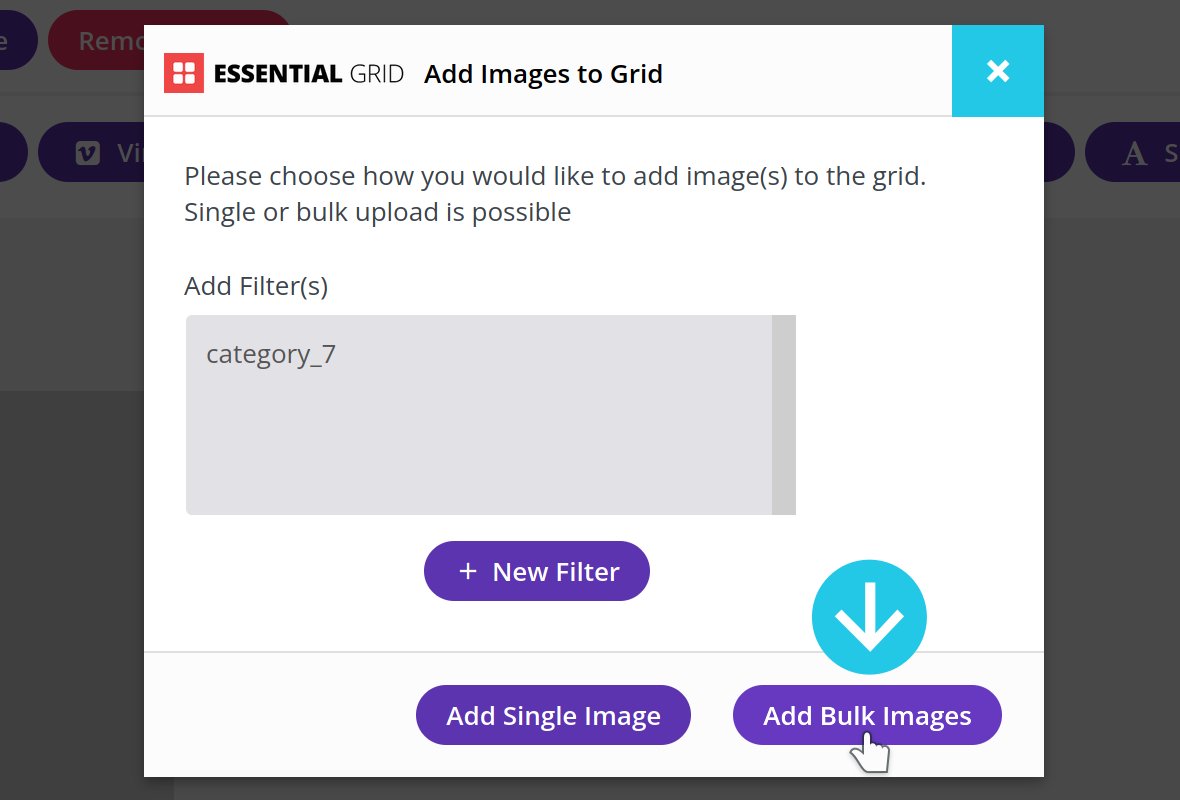
A dialogue box titled Add Images to Grid will appear. At the bottom right of that box, click the Add Bulk Images button:
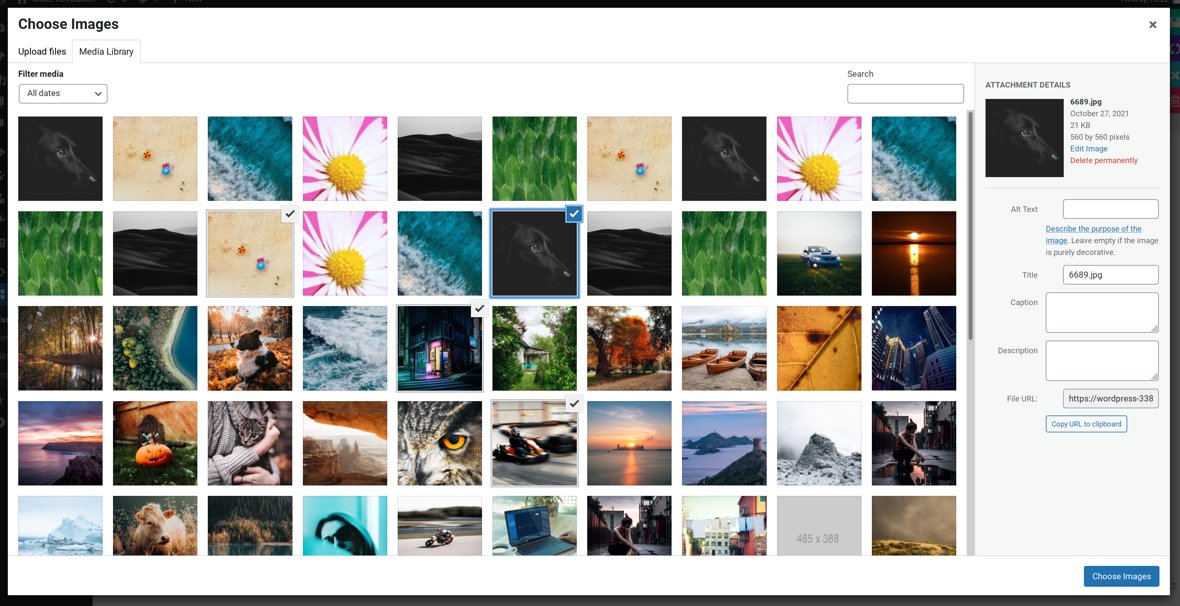
The Shopify Store images library (Content-> Files) will open up. Hold down your CTRL / CMD key, click each of the images you’d like to add to the grid. Hold down your CTRL / CMD key, click each of the images you’d like to add to the grid, then click the Choose Images button at the bottom right corner: button at the bottom right corner:
Save & Publish Your Grid
Just as we did in the last two tutorials, save the grid, go to Shopify theme customize, add an Essential Grid block to it and select the grid id:
Using the Custom Grid content type allows you to fill up a grid with a mix of just about any type of content you like. In this case we’re going to use it to showcase a selection of images chosen from the Shopify Store images (Content > Files).