Table of Contents
- Up and Running Fast!
- Video Version
- Create Gallery from Template
- Change Content Source
- Add Gallery to Page
- And You’re Done!
- What’s Next?
Up and Running Fast!
In this tutorial you’re going to get your first gallery created and published in under 3 minutes.
There’s a lot of depth in Essential Grid Gallery, but before we get into any of that we want you to see just how quick and easy making grids can be.
Create Grid from Template
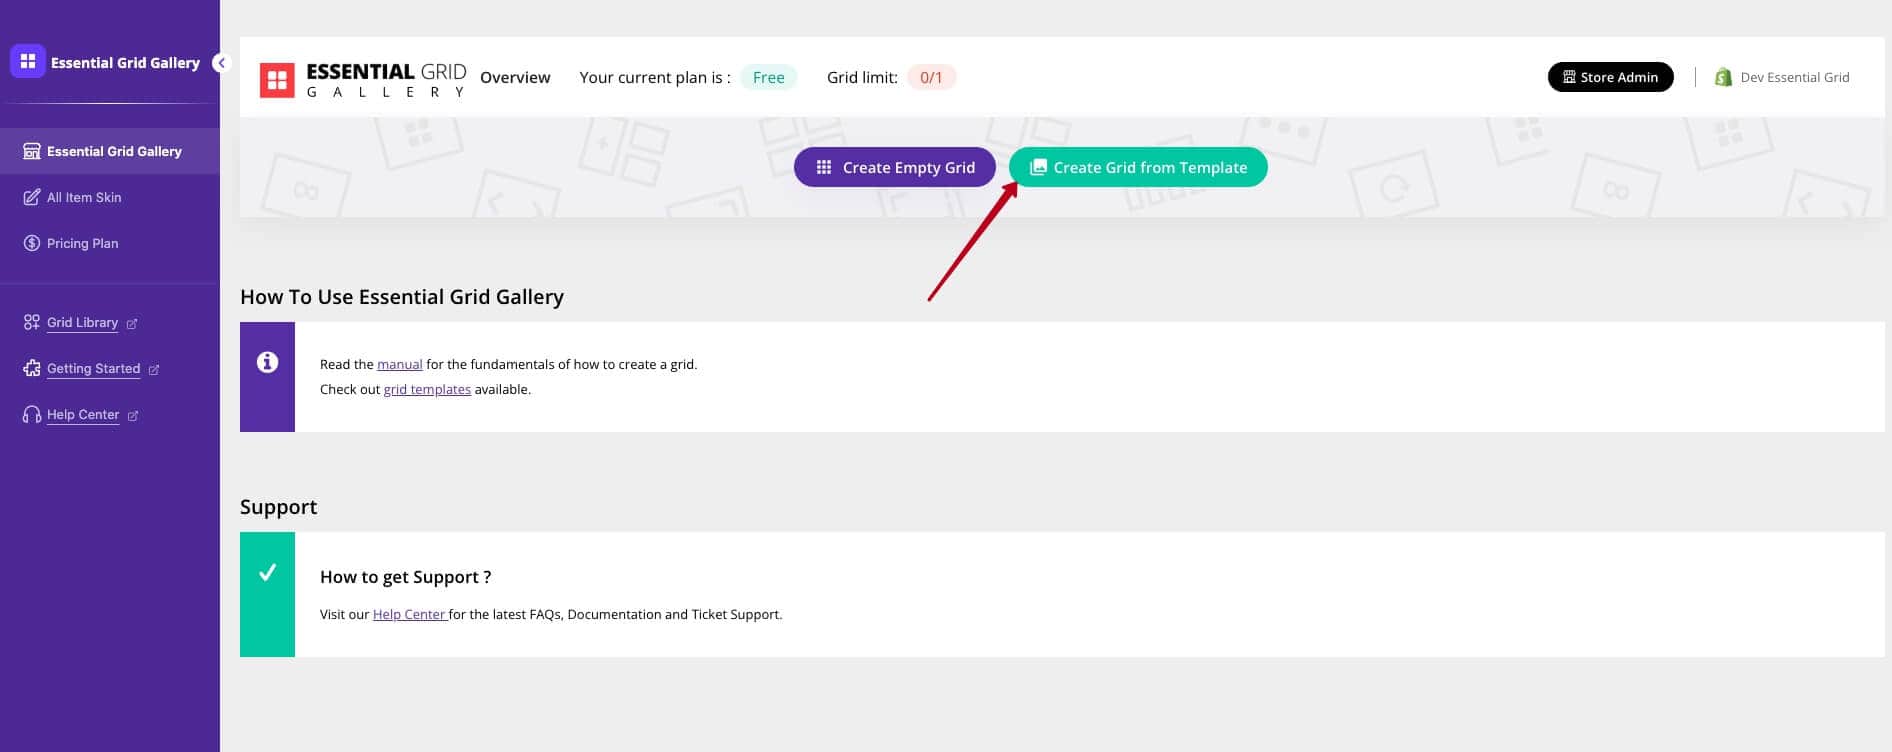
Click the pink Create Grid Gallery from Template button:

The Template Gallery will appear, where you can select from dozens of plug and play grid designs:
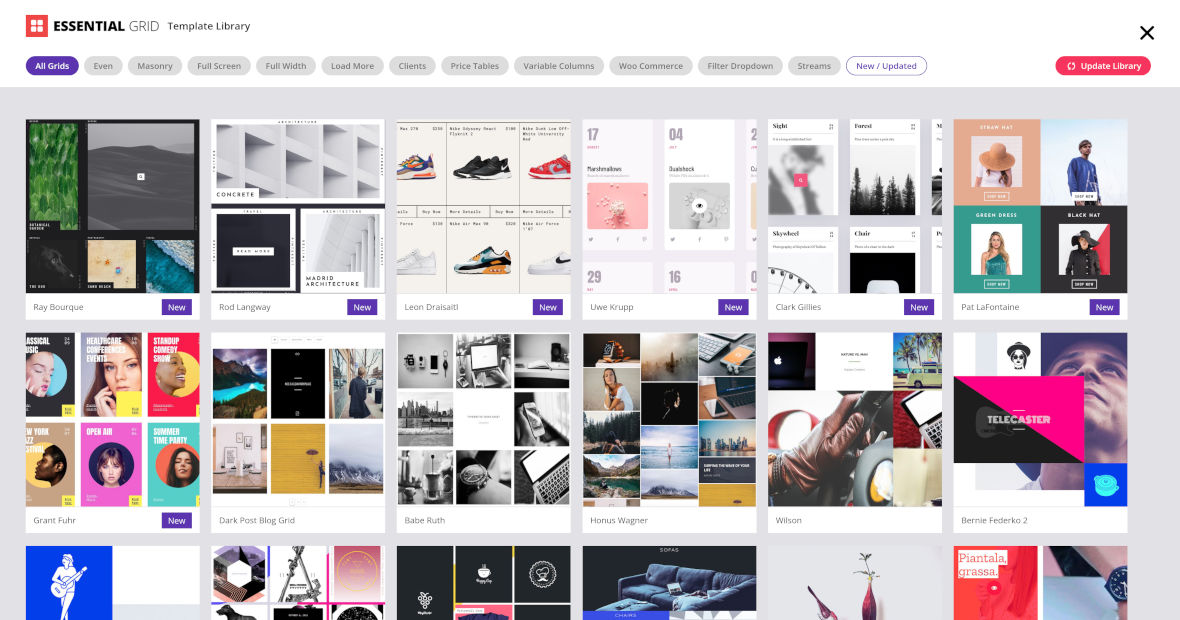
Now we can see ready template named “Furniture Decoration” in the top row:
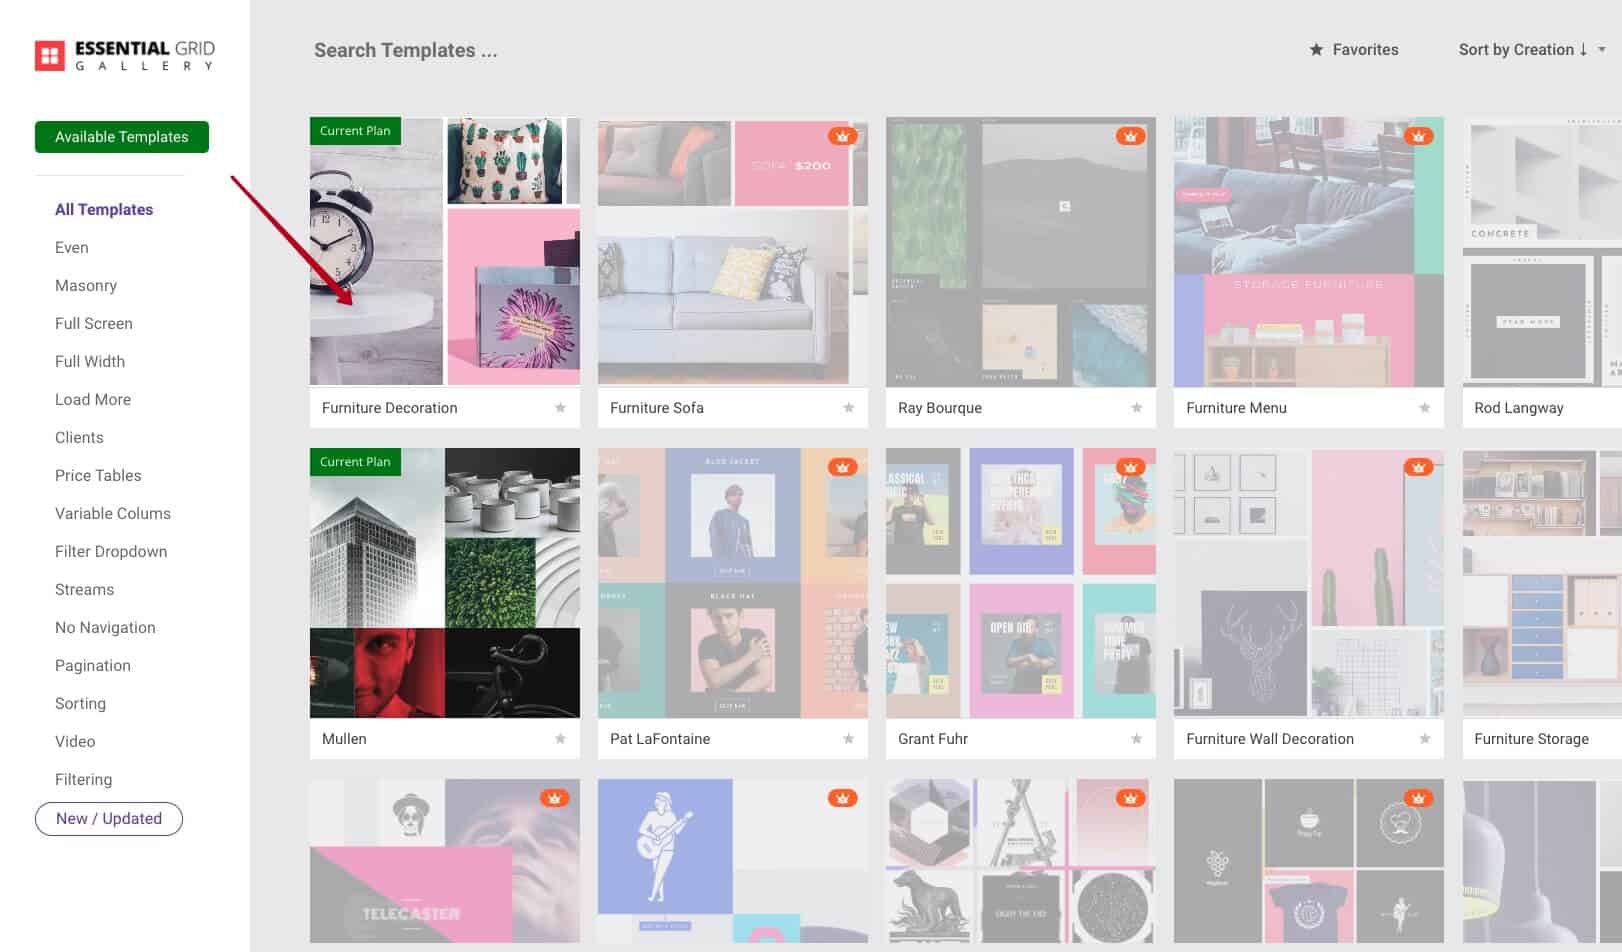
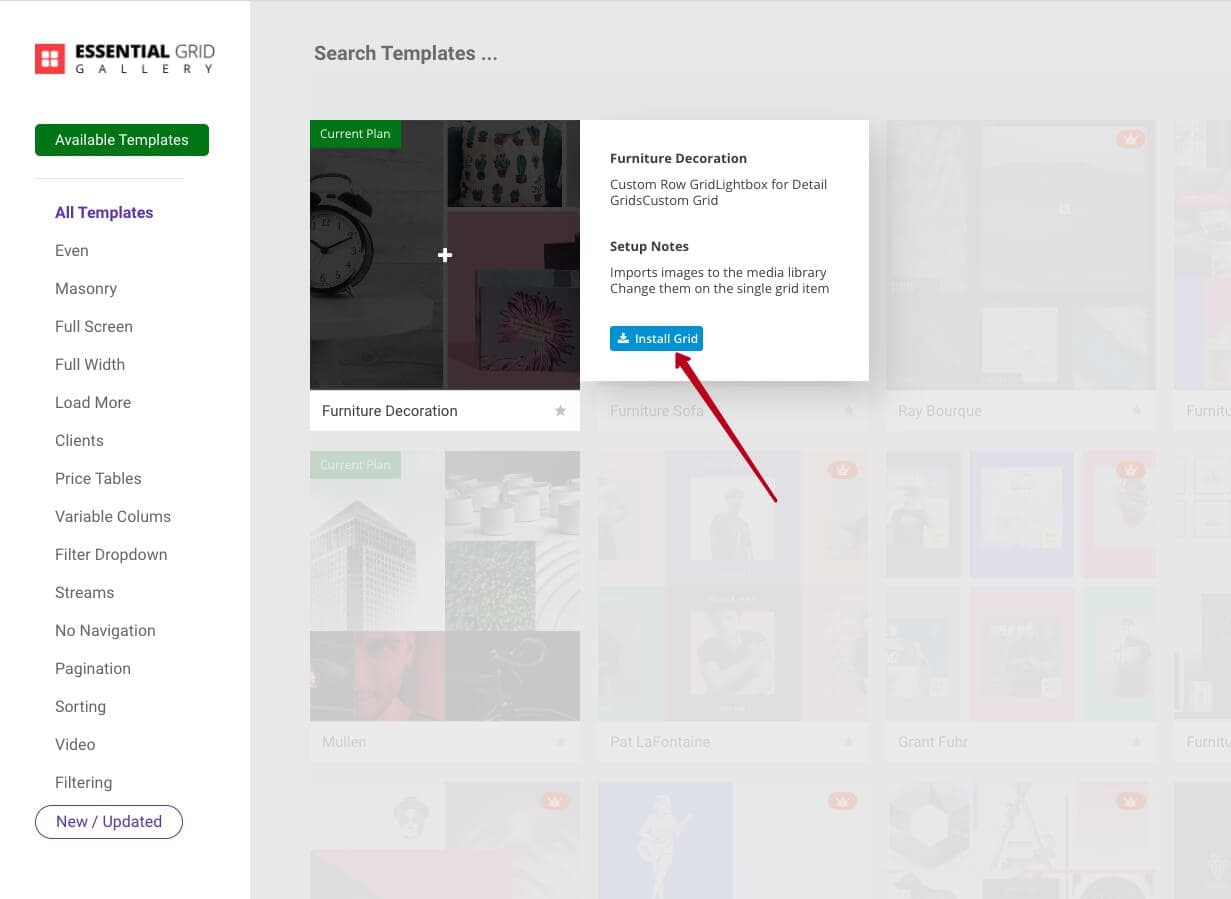
Hover over it and click the + button then the blue Install Grid button to create a grid from this template:
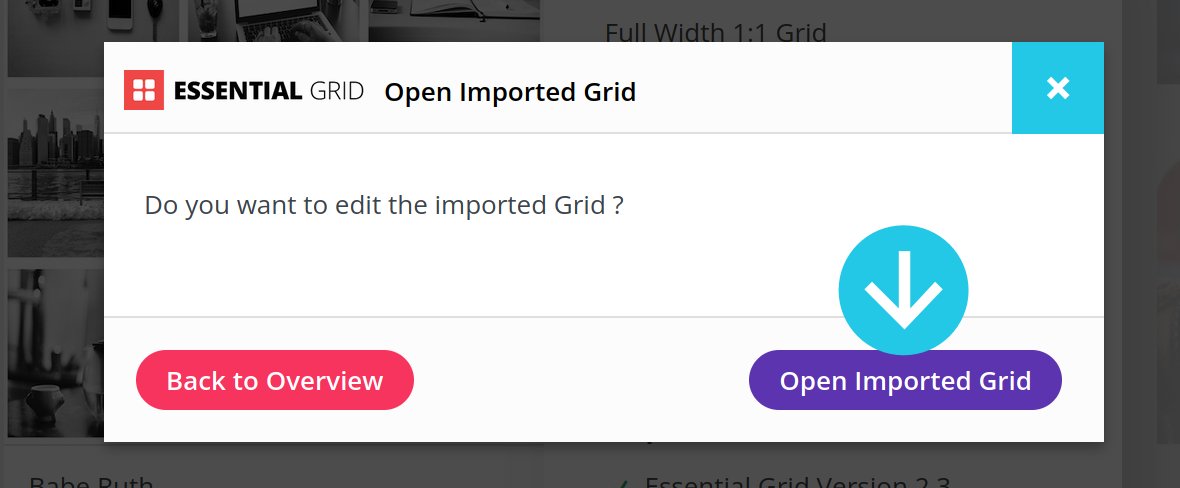
Once the grid is imported and ready you’ll see a small confirmation box. On that box click the purple Open Imported Grid button:
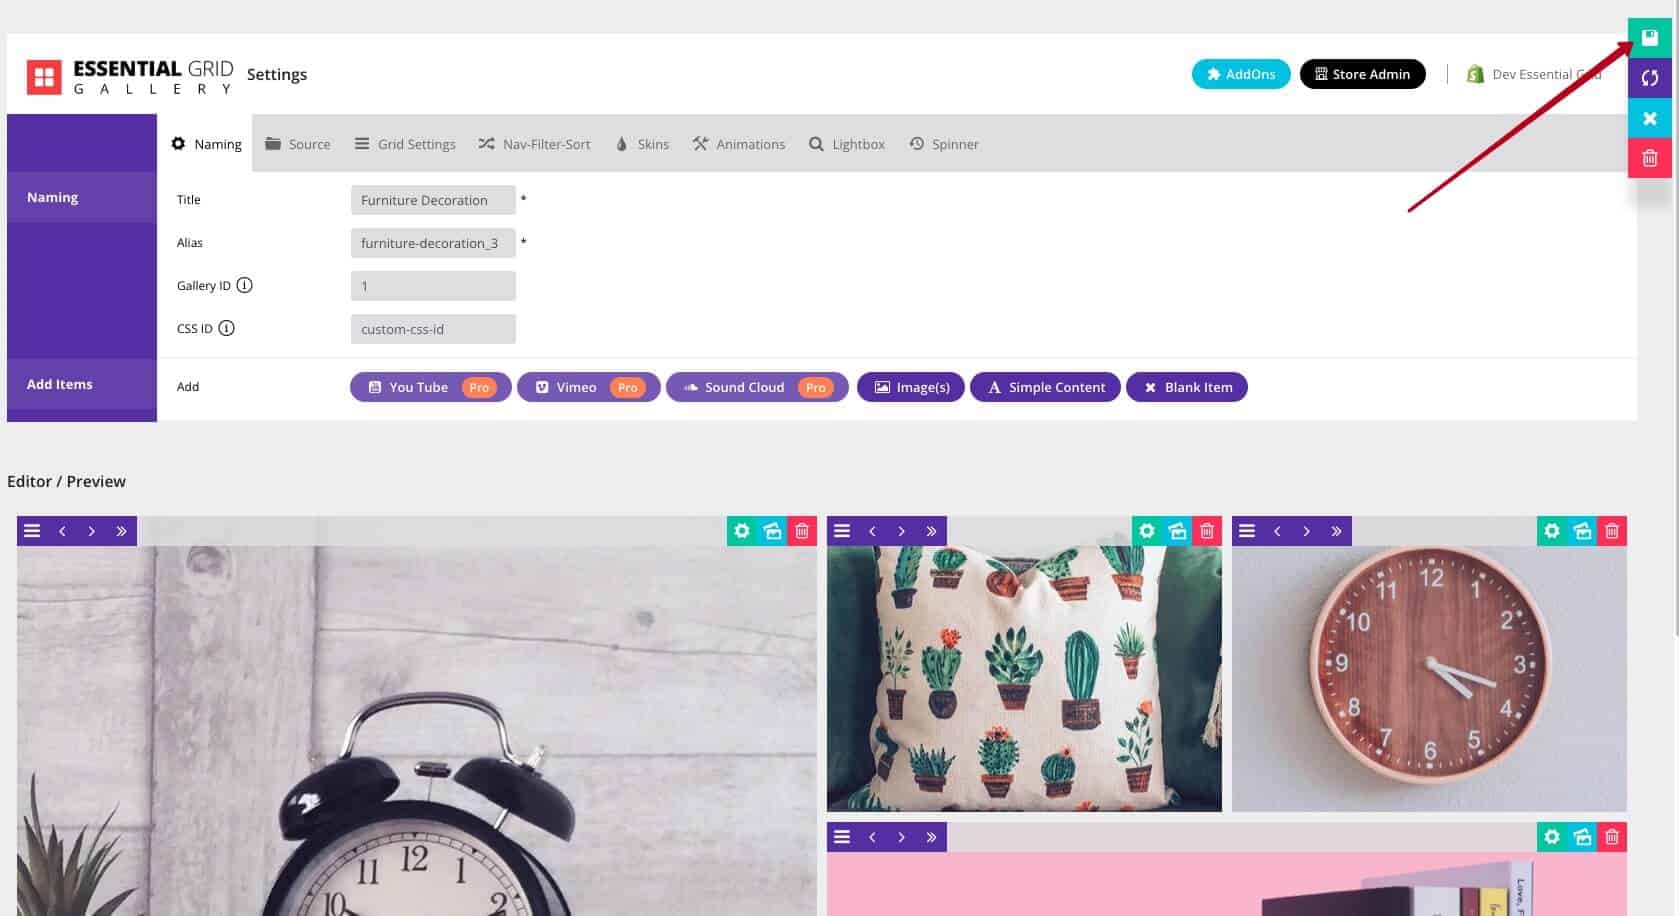
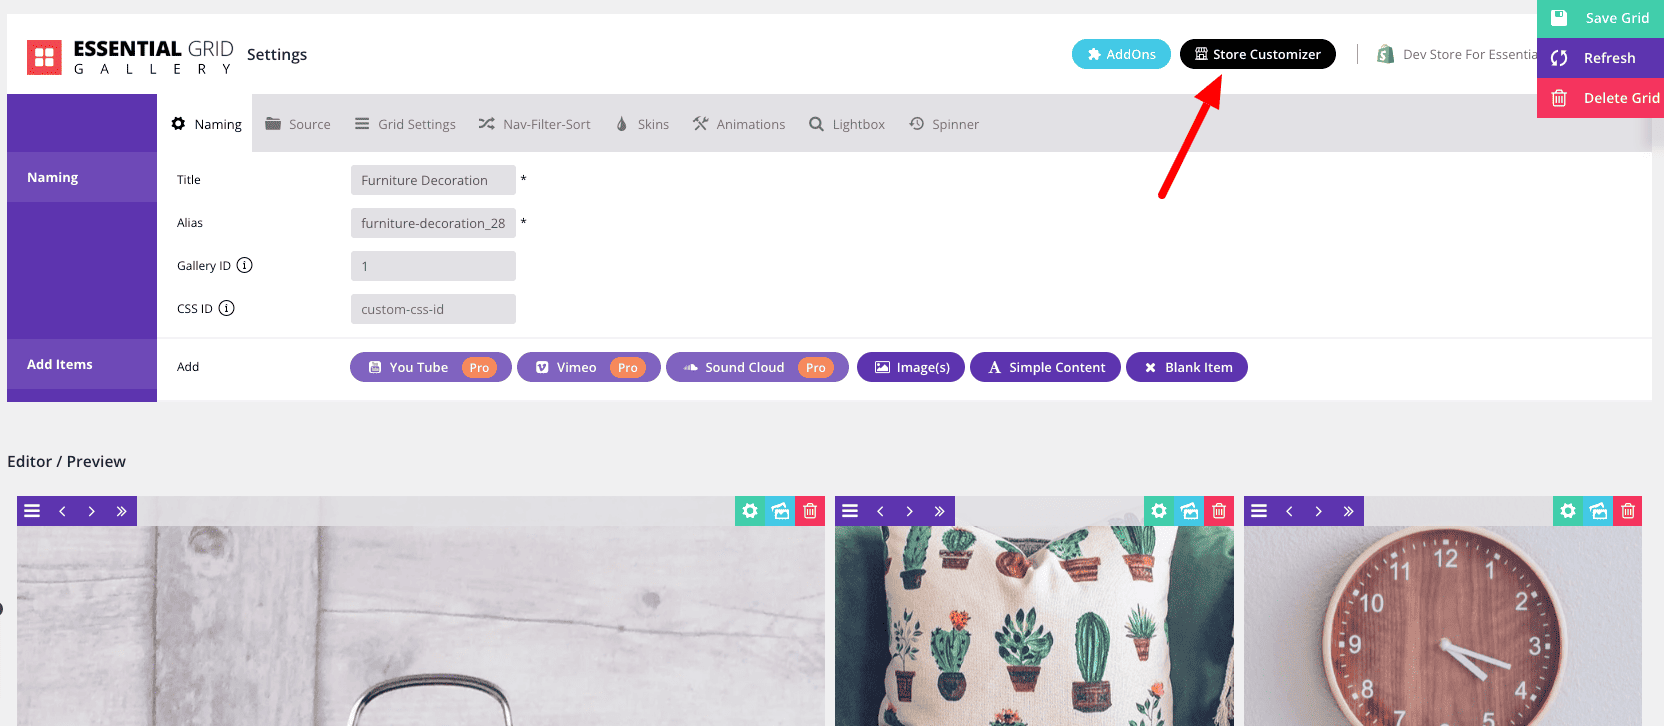
The grid gallery is now ready to go, we just need to add it to a Shopify page.
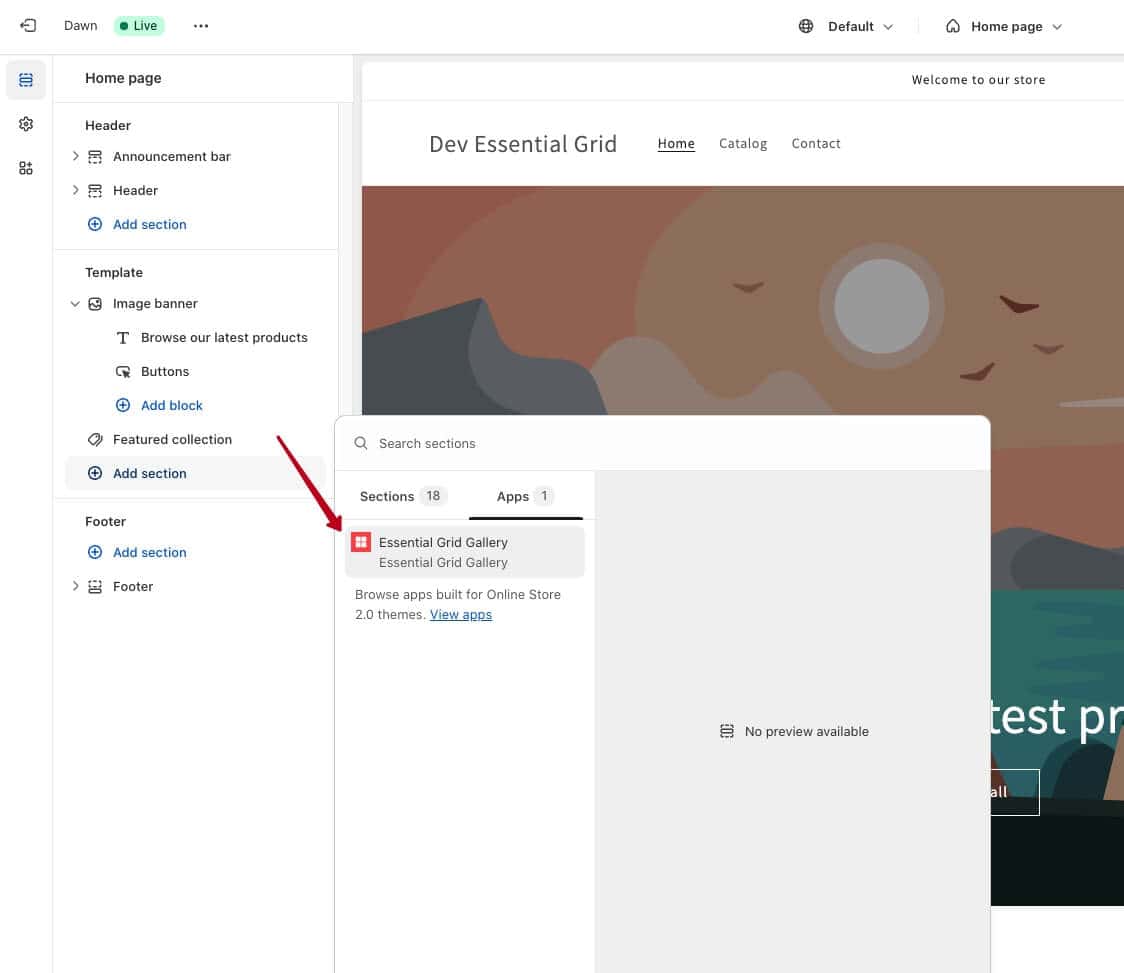
After clicking the Store Customizer button, you will see a new window as below:
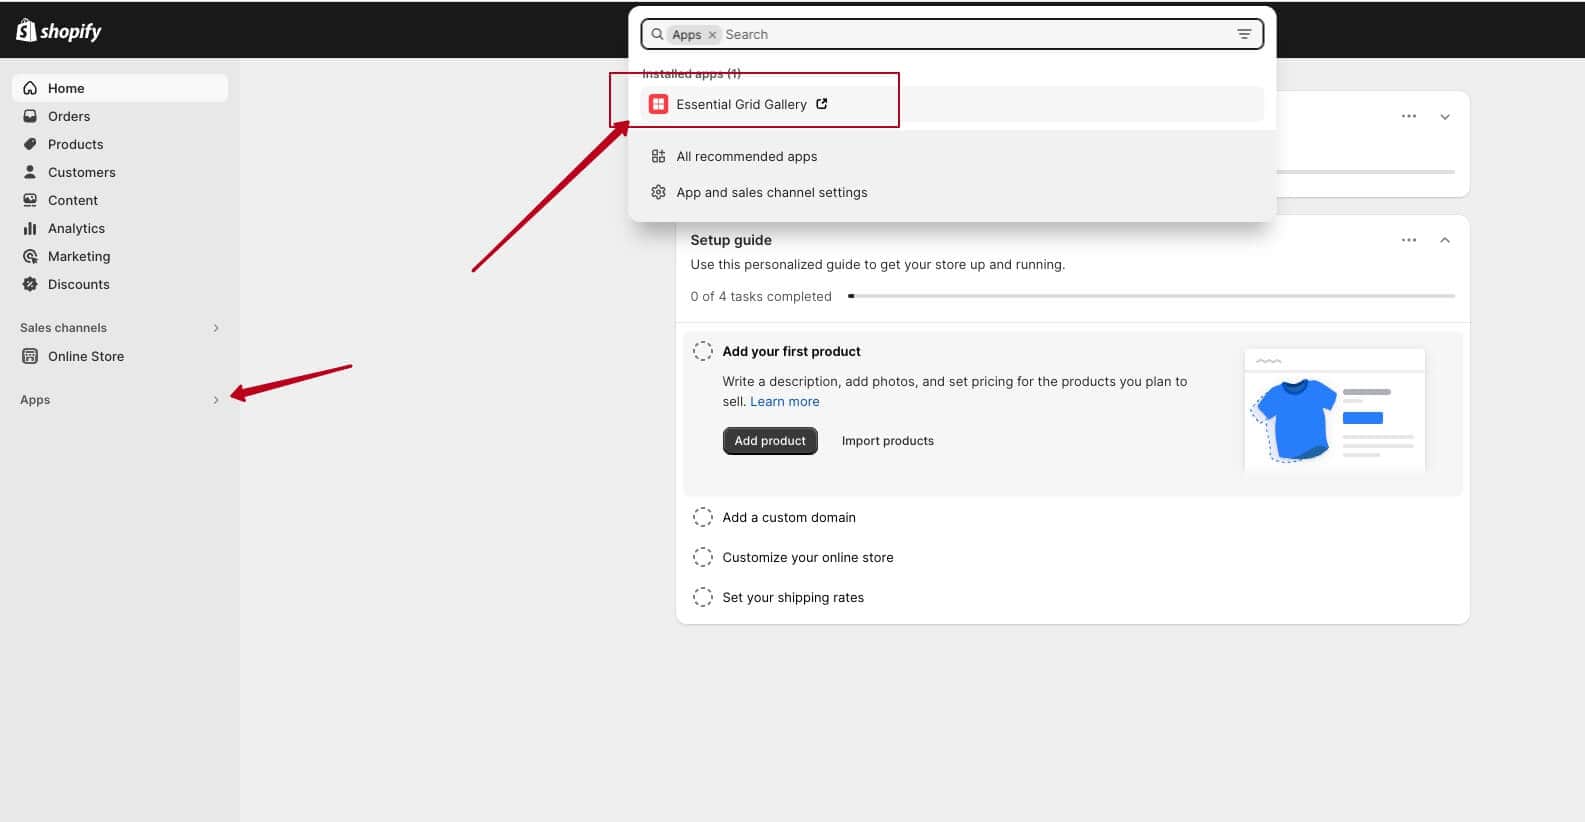
add section and select Apps tab from popup. After that select Essential Grid Gallery Block from Apps tab block
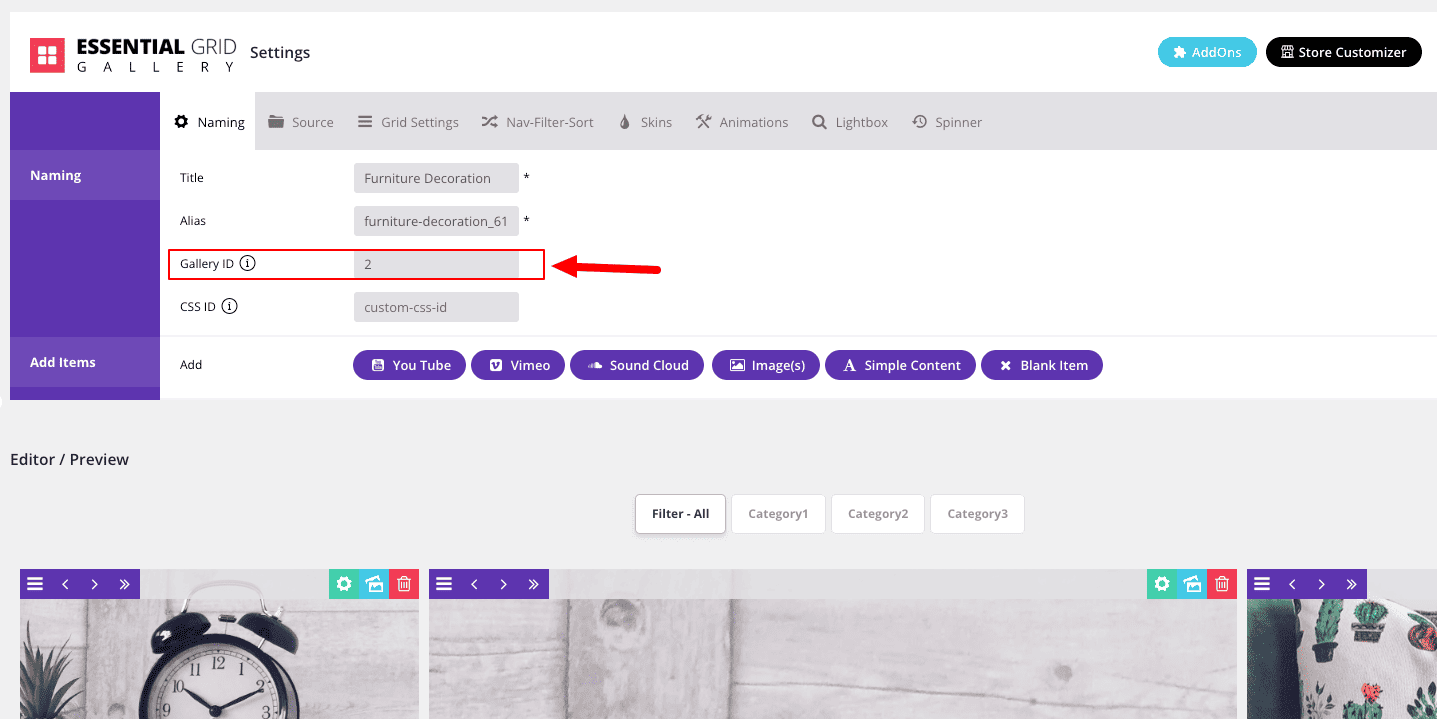
Paste Gallery ID on the Essential Grid Gallery block
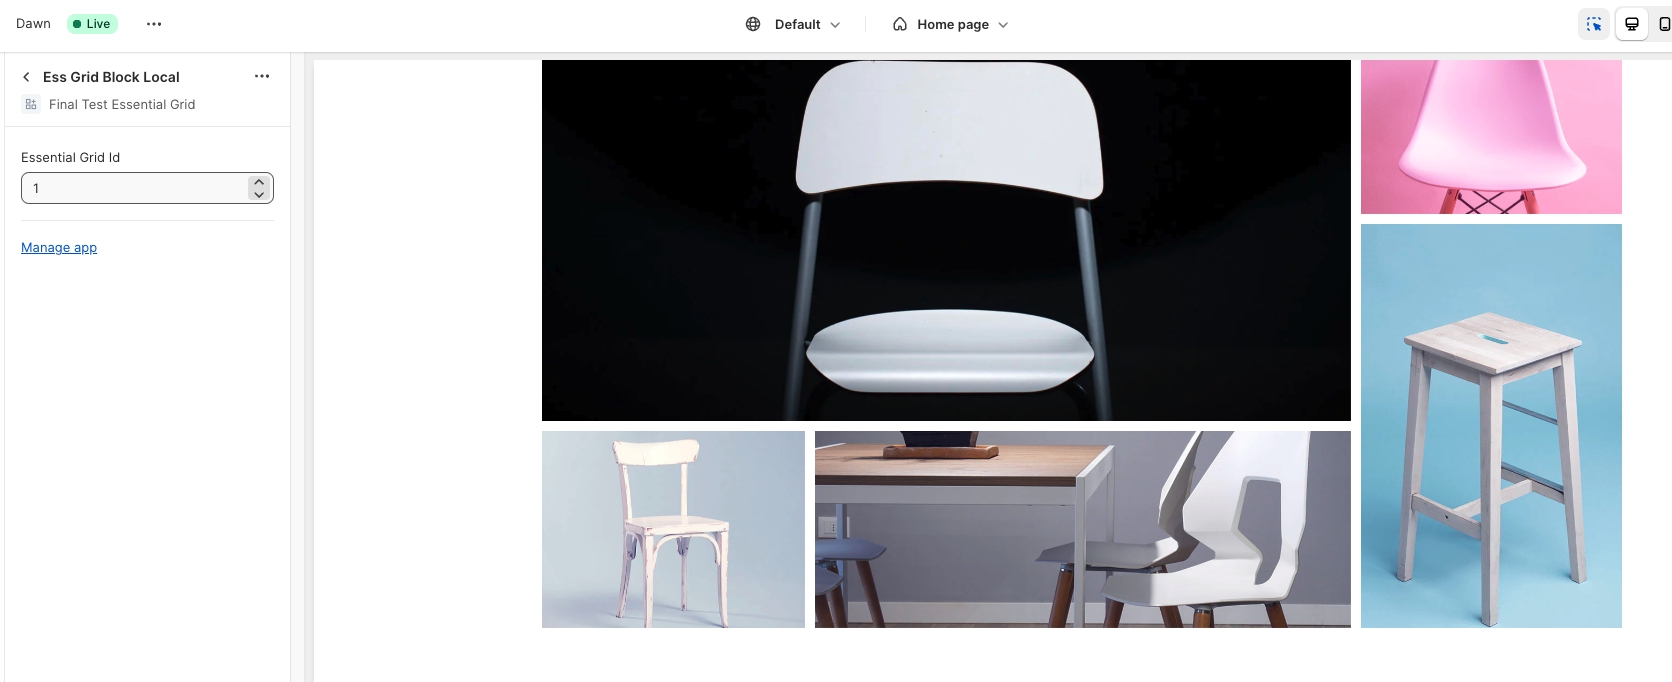
And You’re Done!
Save your page and take a look at your beautiful new grid gallery:
What’s Next?
Hopefully that demonstrates just how quick and easy it can be to add grids to your site with Essential Grid Gallery.
As we said at the beginning, there’s a whole lot more depth we can get into with what you can do with Essential Grid Gallery.
That’s coming up in our next quick demo grid tutorial: “A Grid from Your Products”.
