
On Shopify, your product photo is doing the job a sales associate does in a physical store. It answers “what does this look like?”, “how big is it?”, “what’s the texture?”, and “can I trust this brand?” All before a customer reads a single line of copy. Get it wrong and no amount of good copywriting or paid traffic will fix your conversion rate.
This guide covers everything you need to shoot, edit, and display Shopify product photos that actually convert: the exact specs Shopify requires, what equipment to use at each budget level, a 7-step shoot setup you can follow today, and how to display your photos using the right Shopify tools once they are ready.
For Shopify product photography, use a white seamless backdrop, natural window light or a softbox kit ($50 to $200), and shoot at a minimum of 2048 × 2048px in JPG or WebP format. Keep file size under 20MB. Use consistent framing across all products and display the results in a curated gallery using Essential Grid Gallery to create lookbooks, product grids, and shoppable collections directly in your Shopify store.
- Shopify recommends 2048 × 2048px square images (1:1 ratio), minimum 800 × 800px.
- 67% of consumers say product image quality is the top factor in their purchase decision (BigCommerce).
- Natural light works for small batches; a softbox kit gives consistent results at scale.
- Shoot at least 5 angles per product: front, back, side, detail close-up, and lifestyle.
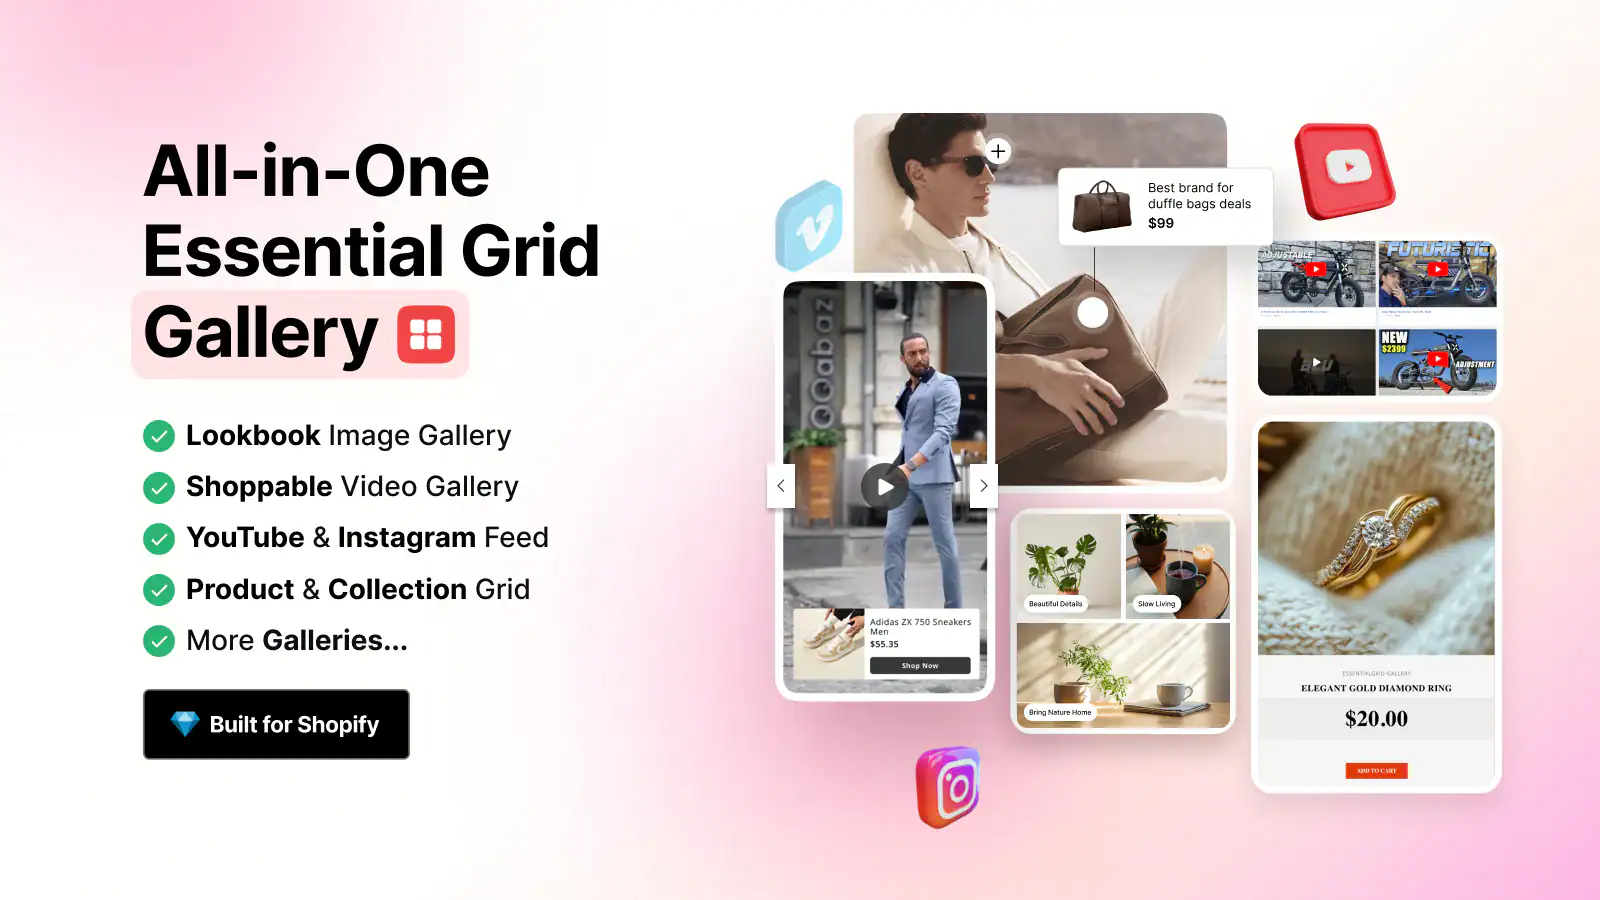
- Essential Grid Gallery displays your photos as shoppable grids, lookbooks, and UGC feeds.
- Consistent background, framing, and lighting across all products creates a professional brand look.
Why Product Photos Directly Affect Sales
On Shopify, customers cannot touch, smell, or try your product. The photo is the product. It is the single most influential element on a product page, above price, reviews, and copy.

High-quality product photography on Shopify does three things simultaneously:
- Builds trust immediately: blurry or inconsistent images signal a low-quality store before customers read a single word
- Reduces returns: accurate, detailed photos set correct expectations; 22% of all online returns happen because the product looked different in real life
- Increases conversion rate: when customers can see what they are buying from multiple angles, they feel more confident purchasing
If you are running a one-product Shopify store, your photography matters even more. The entire store judgment rests on those images. For inspiration on how top brands use photography to sell, see how leading Shopify beauty stores present their product imagery.
Shopify Photo Requirements and Specs
Before shooting, know exactly what Shopify requires so you do not have to resize after the fact.
| Spec | Shopify Requirement | Recommended |
|---|---|---|
| Dimensions | Minimum 800 × 800px | 2048 × 2048px (square) |
| Aspect ratio | Any ratio accepted | 1:1 (square) for consistency |
| File formats | JPG, PNG, GIF, WebP | JPG or WebP (smaller file, same quality) |
| Max file size | 20MB per image | Under 500KB after compression |
| Max images per product | 250 images | 5-8 angles per product variant |
| Color space | sRGB | sRGB (CMYK will display incorrectly) |
For a full breakdown of image dimensions across banners, hero sections, and product pages, see our Shopify image size guide and banner size reference.
WebP vs JPG: Always shoot at maximum resolution and compress afterward. Never upscale small images; Shopify will display them at low quality. WebP compresses 25-35% smaller than JPG with identical visual quality. Use WebP wherever your editing tool supports it.
Equipments You Need
You do not need expensive gear to take great Shopify product photos. You need the right setup for your product size and budget.
Camera
Lighting
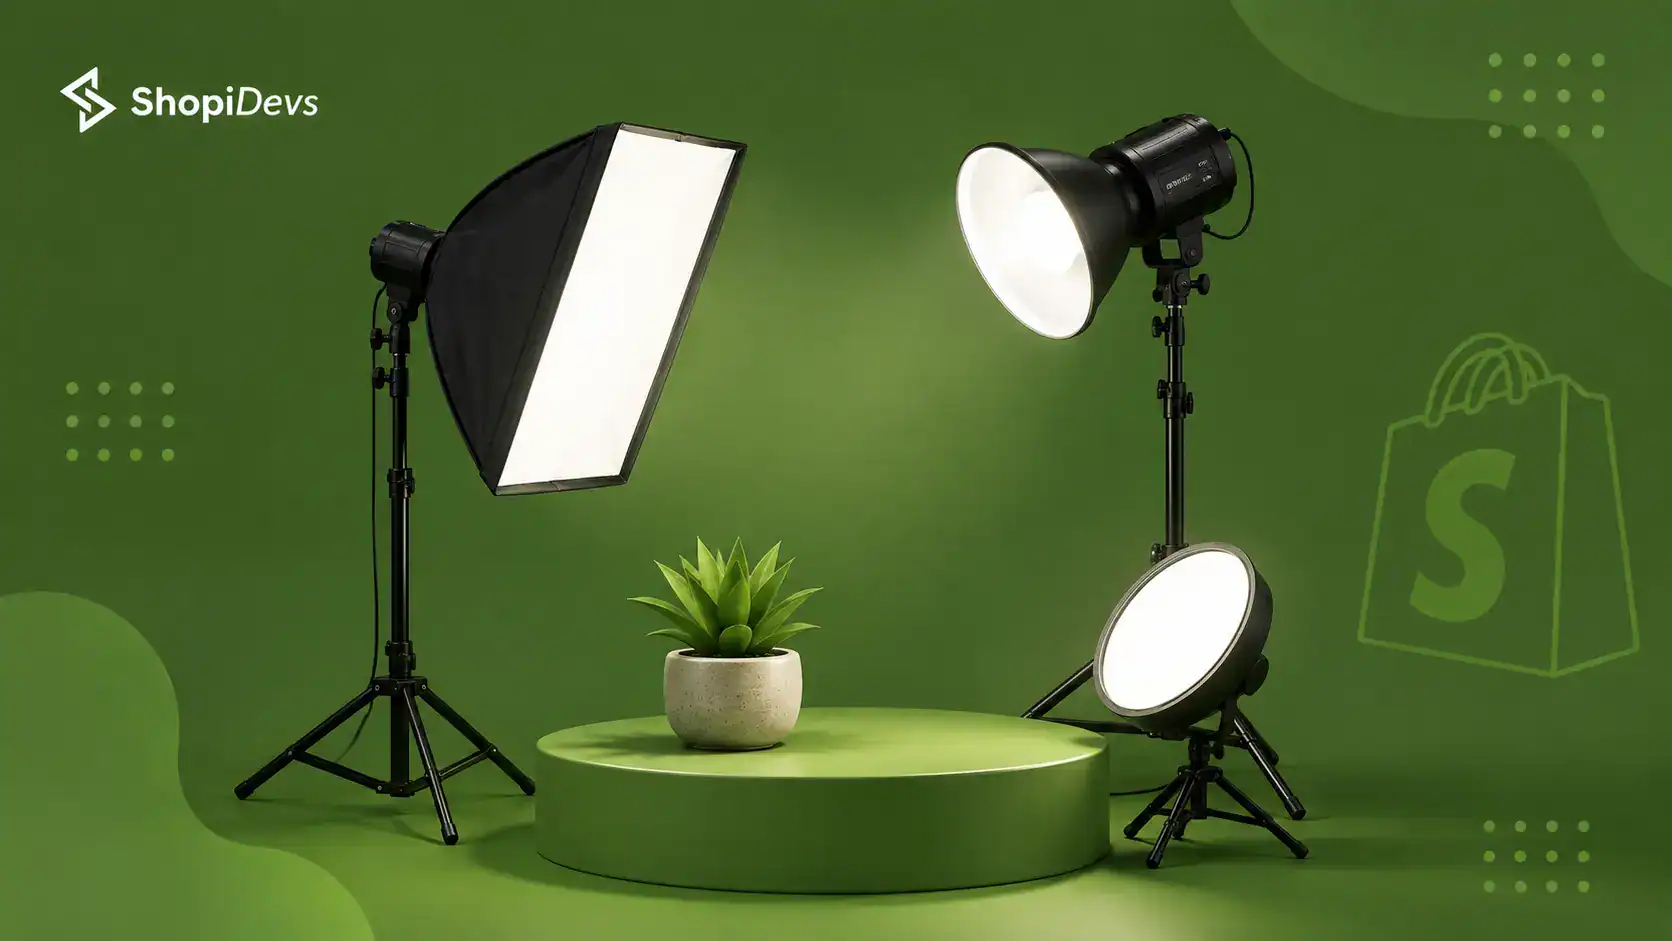
- Softbox kit ($50-200): most versatile, diffuses light evenly, eliminates harsh shadows, best for all product sizes
- Ring light ($30-100): even illumination, great for small products and jewelry, eliminates shadows at center
- Light tent/cube ($20-80): enclosed box with built-in LEDs, perfect for products under 12 inches
- Natural window light (free): soft and flattering when diffused through sheer curtains, but inconsistent across shoot days
Other Accessories for Shopify Product Photography
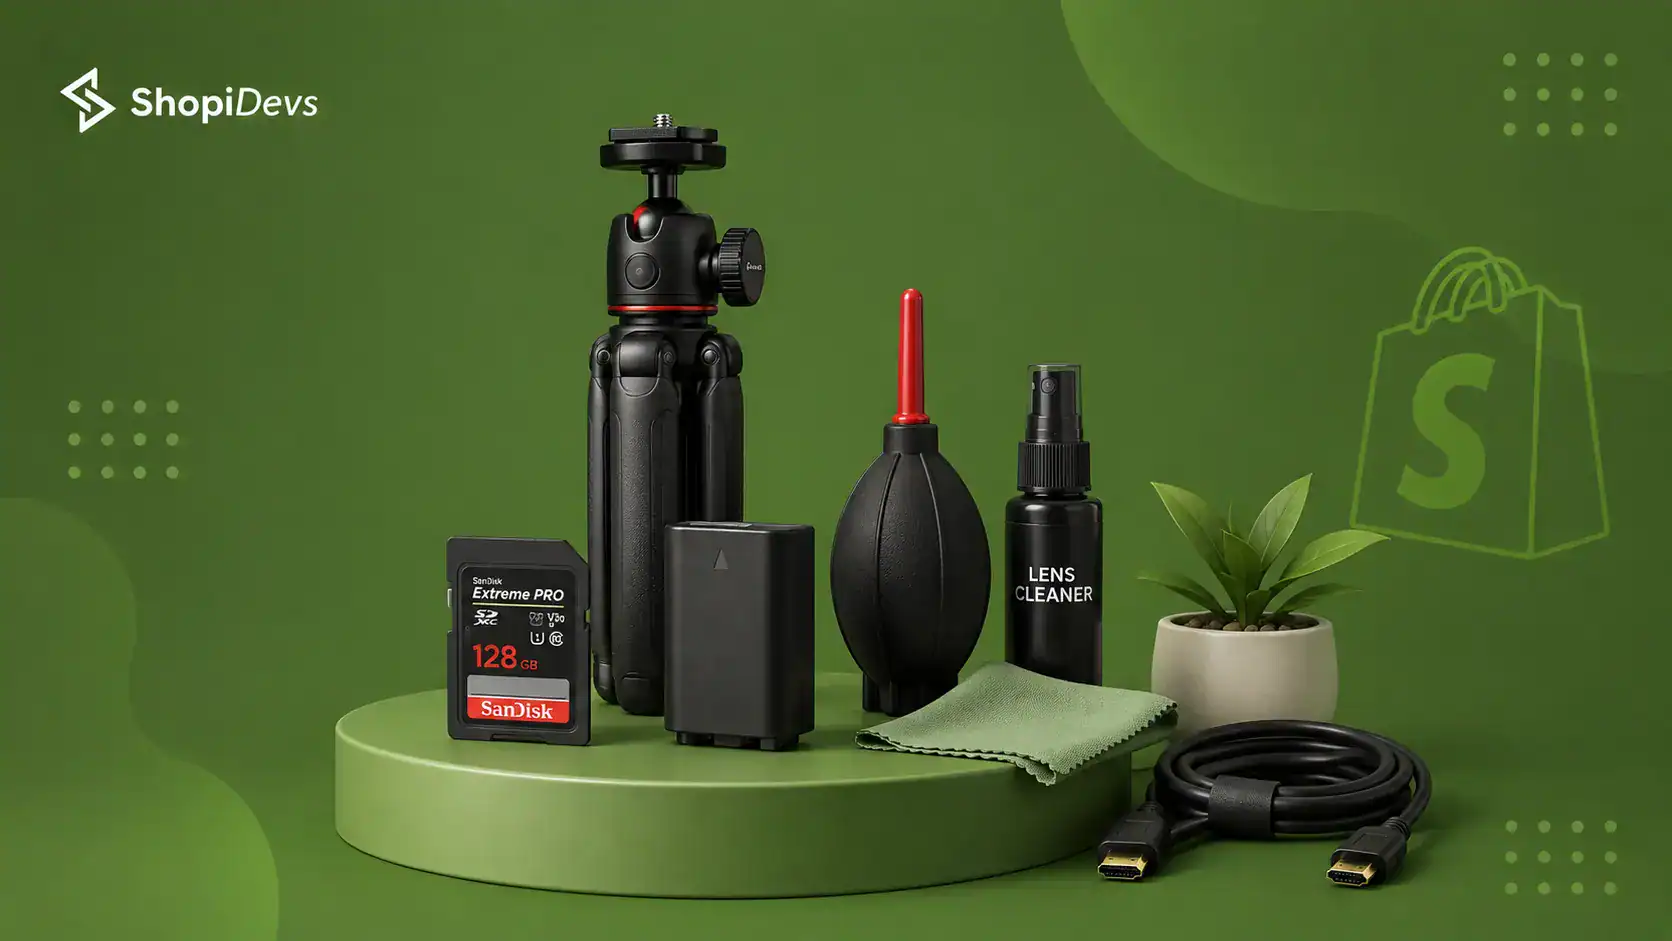
- Tripod: eliminates camera shake, keeps framing identical across all shots
- White seamless paper or foam board: clean background, $5-20 at any art supply store
- Reflector or white foam board: bounces light back to fill shadows on the opposite side of your light source
- Remote shutter or self-timer: removes vibration from pressing the shutter button
7-Step Product Shoot Setup
- Set up your backdrop: Tape white seamless paper to a wall and sweep it forward onto a table. The curve eliminates the visible horizon line, giving you a clean infinite white background. For colored products, use a complementary background to make them pop.
- Position your main light source: Place your softbox or window at a 45-degree angle to the product. This creates natural-looking shadows that add dimension without being harsh. For jewelry or reflective products, use a light tent instead.
- Add a fill light or reflector: Place a white foam board or reflector on the opposite side of the main light. This bounces light back and softens shadows. You want subtle shadows for depth, not dark shadows that hide product details.
- Mount your camera on a tripod: Fix camera height and angle so every shot is identical. For Shopify, shoot slightly above eye-level for most products. Enable the grid overlay to keep products centered. Use a remote shutter or 2-second self-timer.
- Set your camera settings: Manual mode: ISO 100 (lowest noise), aperture f/8 (sharp front-to-back), shutter speed adjusted to correct exposure. On a smartphone: tap to focus on the product, lock exposure, set to highest resolution, disable HDR.
- Shoot 5+ angles per product: Minimum: front, back, side profile, close-up detail (texture, label, stitching), and one lifestyle shot. For clothing: flat lay, on-model front, on-model back, detail shot. Never list a product with only one photo.
- Review before moving on: Check each shot at 100% zoom before changing the product. Look for: focus sharpness, shadow consistency, background cleanliness, and color accuracy. Reshoot immediately; it is far faster than reshooting an entire batch later.
Lighting Techniques Compared
| Technique | Cost | Consistency | Best For | Drawback |
|---|---|---|---|---|
| Natural window light | Free | Low | Small batches, lifestyle shots | Changes with weather and time of day |
| Softbox kit | $50-200 | High | All product types, high volume | Setup time, storage space needed |
| Ring light | $30-100 | High | Small products, jewelry, cosmetics | Circular reflection visible on glossy surfaces |
| Light tent/cube | $20-80 | Very High | Products under 12 inches | Not suitable for large or clothing items |
| Continuous LED panel | $80-300 | High | Large products, video + photo combined | Higher cost, generates heat over time |
Rule of thumb: If you shoot more than 20 products per month, invest in a softbox kit. The time you save on retouching inconsistent natural-light photos pays for the kit in two sessions.
Editing Product Photos for Shopify
The goal of editing is accuracy, not transformation. Your photos should look like the product, just cleaner.
- Crop to 1:1 square at 2048 x 2048px; keep the product centered with consistent padding around it
- Adjust white balance: the background should be pure white (#ffffff), not cream or grey. Use Lightroom’s eyedropper tool on the background
- Correct exposure and contrast: bring up shadows slightly, pull down highlights to recover detail in bright areas
- Remove blemishes and dust: use the healing brush to eliminate any specks on the background or product surface
- Sharpen selectively: add sharpening only to the product, not the background. Over-sharpening creates noise
- Export as WebP or JPG at 80% quality: this compresses a 5MB raw file to under 300KB with no visible quality loss
- Name files descriptively:
blue-cotton-tshirt-front-2026.jpgnotIMG_0042.jpg. File names contribute to Shopify SEO
Free editing tools: GIMP, Canva Pro, Adobe Express. Paid: Adobe Lightroom ($10/month), the industry standard for batch product photo editing with one-click preset application.
How to Display Product Photos on Shopify
Taking great photos is only half the equation. How you display them inside your Shopify store determines whether they convert. Default Shopify product pages show images in a simple stack, functional but not compelling for stores with visual-heavy catalogs.
For stores that rely on visual storytelling (fashion, beauty, home decor, jewelry) a curated gallery or lookbook approach significantly increases time-on-page and conversion rate. You can explore ideas in our Shopify lookbook guide and see the full range of lookbook apps for Shopify.
For hero and banner display of featured product photography (sale banners, seasonal campaigns, new arrivals). See how Shopify product banners work and how to build animated product displays that stop the scroll.

Design your Shopify store with advanced animation effects, special fx, dynamic content, and so on.
- Image slider, banner, layer, video, hero, carousel, pages, theme sections
- 200+ ready templates and addons
- Compatible with Shopify 2.0 online store themes and popular landing page builder
- Multilingual, RTL-supported, banner, landing page builder, theme section store
- Use social media content in your slider from YouTube, Vimeo, Facebook, Instagram

Slider Revolution for Shopify turns your best product photography into high-converting hero sliders, announcement banners, and homepage feature sections, with 200+ ready-to-use templates and zero code required.
DIY vs Professional Photography
| DIY Photography | Professional Service | |
|---|---|---|
| Cost | $100-400 one-time setup | $50-500+ per session |
| Quality ceiling | High with practice | Very high, consistent |
| Turnaround | Same day | 3-7 days typically |
| Control | Full control | Limited direction |
| Consistency at scale | Requires discipline | Built in |
| Best for | Under 200 SKUs, ongoing updates, tight budgets | Launch shoots, hero imagery, fashion campaigns |
| Learning curve | 2-4 weeks to get consistent | None |
Practical recommendation: DIY your standard product shots (white background, all angles). Hire a professional for hero images, launch campaigns, and model shots. A hybrid approach gives you cost efficiency plus the high-impact imagery your homepage and Shopify theme deserve.
Frequently Asked Questions
What is the best image size for Shopify product photos?
Shopify recommends 2048 x 2048px square images (1:1 ratio) as the optimal size. This resolution supports zoom functionality and looks sharp on all screen sizes including retina displays. The minimum accepted size is 800 x 800px but anything below 2048px will look soft when customers zoom in. For more detail, see the full Shopify image size guide.
What background should I use for Shopify product photography?
White seamless paper is the standard for Shopify product photography. It keeps the focus on your product, makes background removal easy in post, and looks consistent across your entire catalog. Use white for standard product listings and styled backgrounds (wood, fabric, lifestyle settings) only for contextual or lifestyle shots.
Can I use a smartphone for Shopify product photography?
Yes. A current flagship smartphone (iPhone 15 Pro, Samsung Galaxy S24 Ultra, Google Pixel 8 Pro) shoots at 48-200MP and produces results comparable to entry-level DSLRs for product photography. The key is proper lighting and a tripod; lighting matters far more than the camera body. Use the rear camera, set to highest resolution, and disable HDR for product shots.
How many product photos should each Shopify listing have?
A minimum of 5 images per product: front, back, side profile, detail close-up, and one lifestyle or in-use shot. For clothing, include flat lay, on-model front, on-model back, and a size/fit reference. Listings with 5+ images consistently outperform single-image listings in both conversion rate and return rate reduction.
Do product photos affect Shopify SEO?
Yes, indirectly and directly. Directly: image file names and alt text are indexed by Google and can drive image search traffic. Use descriptive names like red-leather-wallet-front.jpg and write alt text that describes the product accurately. Indirectly: better photos reduce bounce rate and increase time-on-page, both of which are engagement signals that improve organic rankings. See the full Shopify SEO guide for more.
Display Your Product Photos the Right Way
Great photos need the right stage. Essential Grid Gallery turns your Shopify product images into shoppable grids, lookbooks, and visual catalogs, no code required.

I’m a digital marketing expert with a deep understanding of Shopify App Store optimization. I contribute insightful articles on Shopify to help businesses thrive online.